
RAW art is a team of art specialists who run art incursions in schools and kindys throughout SEQ and Sydney/ Newcastle. We also have a fabulous range of DIY art kits which we send to schools and kids throughout Australia.
Brilliant bubbles
This one is bound to entertain the kids (and adults) for at least an hour or two.
I remember using a similar technique to this when I was in primary school, and I have never forgotten it, it was so much fun. This project combines a little science with some printmaking techniques, and I guarantee you have the equipment already lying around.
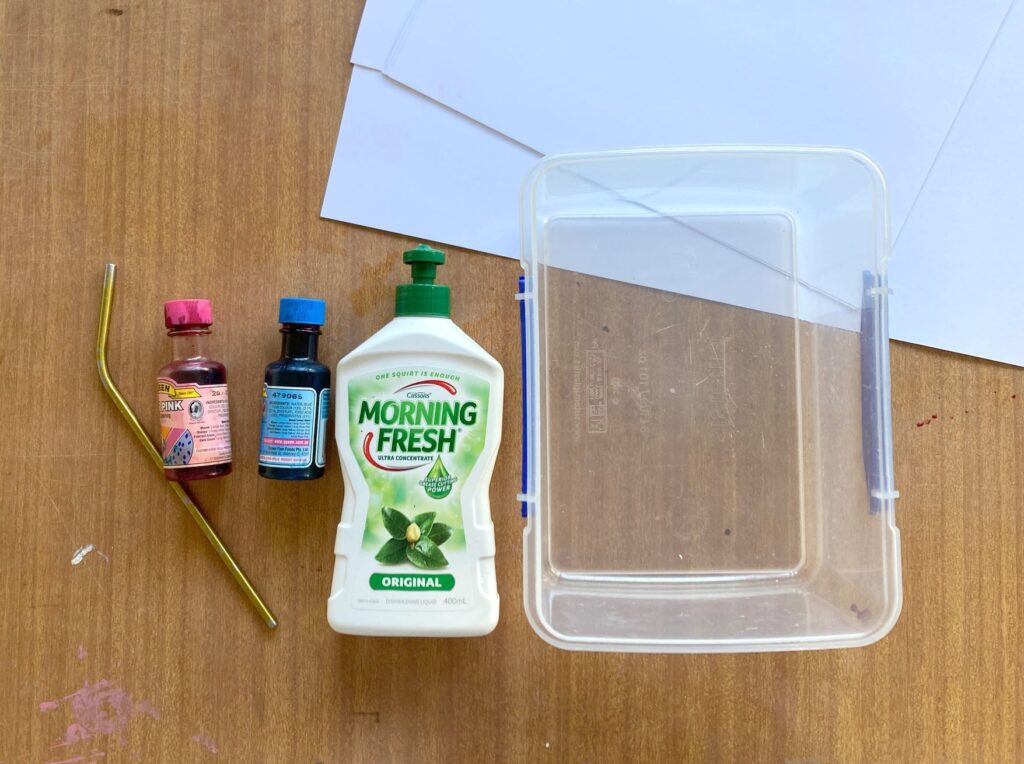
Go and grab some dishwashing liquid, a fairly large Tupperware container about half full, some food dyes (any colour), and some white paper or card any size.
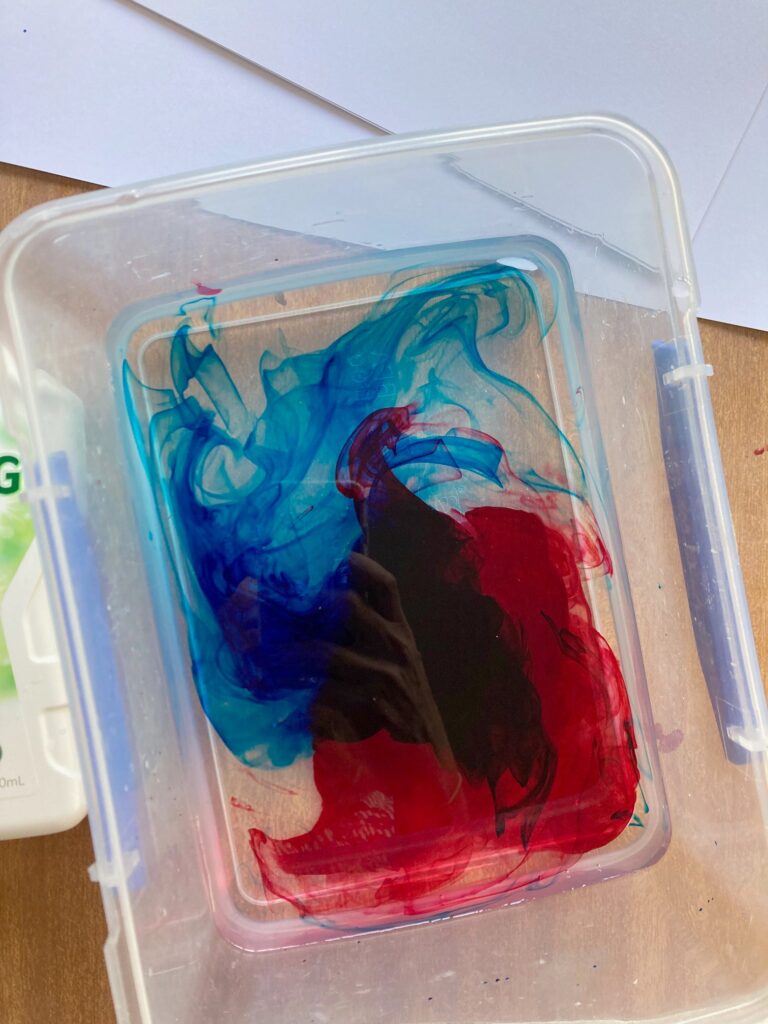
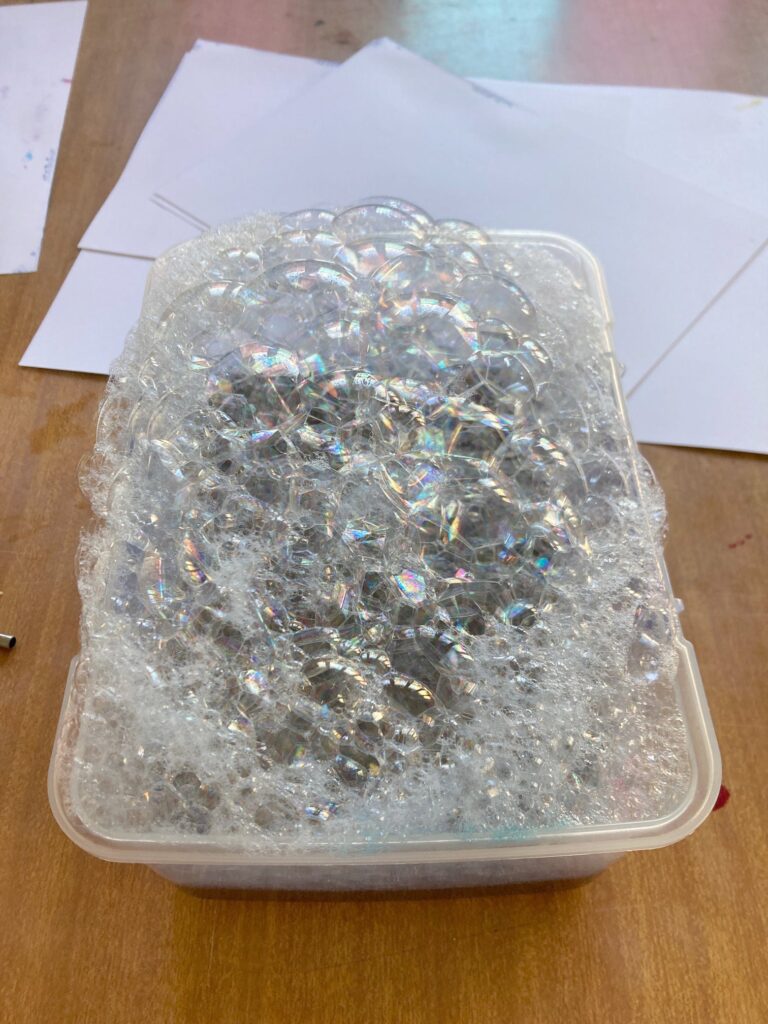
Squeeze a generous amount of dishwashing liquid in the water, about 3 times as much as you might use for dishes. Then add your dye. You are going to need to be even more generous with the dye or the bubbles won’t show, maybe about 2-3 tablespoons, but just experiment. Now choose a tool to agitate the water, a straw to blow big bubbles, a hand blender to make small bubbles, or a whisk to make dense foam. You need the bubbles to rise above the Tupperware container rim because the paper/card gets dropped on the top rim to capture the bubble print. I actually found the best print I made I popped the card on top and then using a straw still in the container blew bubbles continuously for about 20 seconds, so the bubbles are just rising constantly against the card. You need to leave the card on the bubble surface for 30 seconds or so to get the best result. Another thing I tried was scooping spoonfulls of bubbles with a spoon and dropping them on the paper, the worked well too.

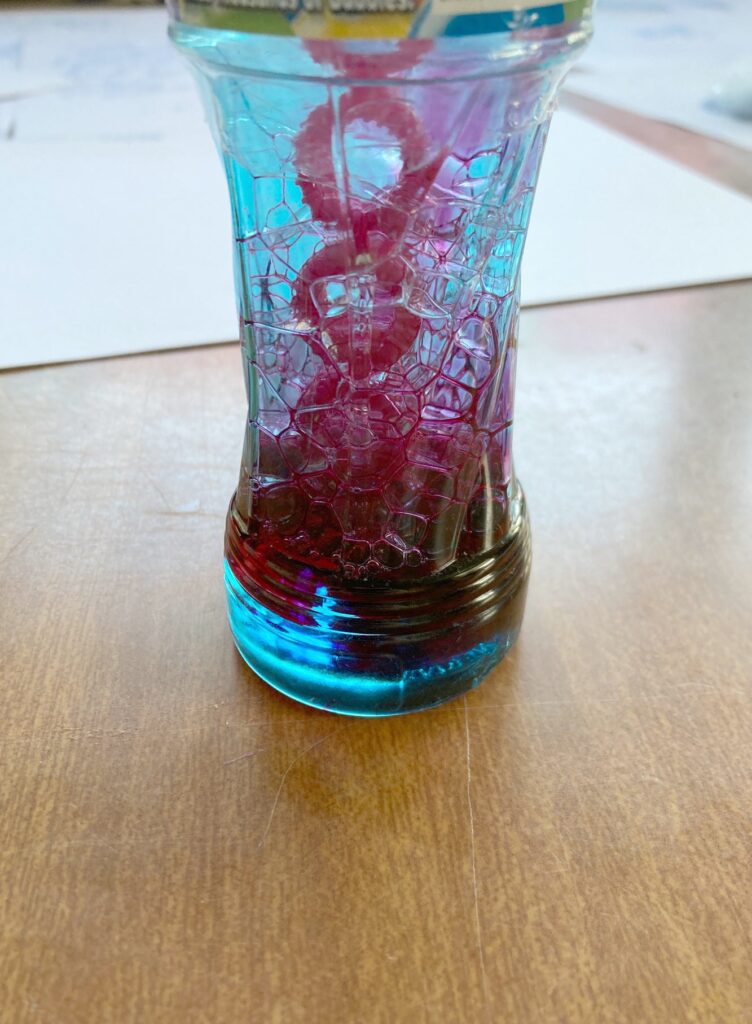
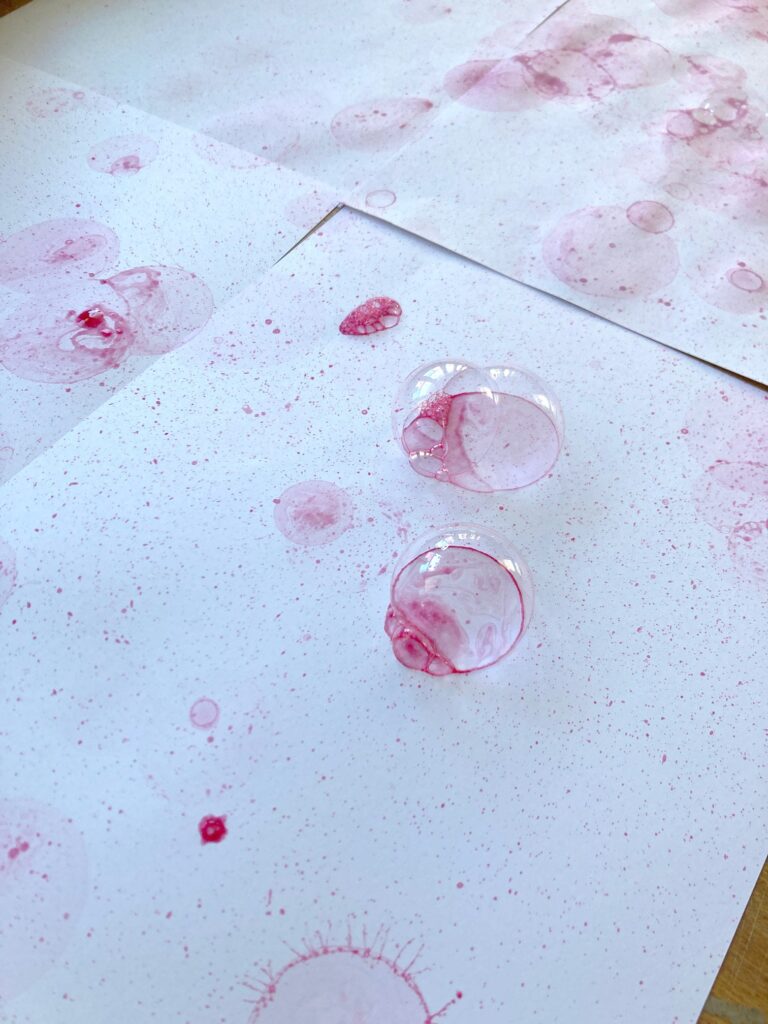
My second experiment I went and grabbed an almost exhausted bubble mix from my child, and then added a teaspoon of food dye to it. Then I blew bubbles all over some paper I laid out. This would work well with a large group of kids on a huge piece of paper – I say this because it would be great to have heaps of colours, plus there are definitely rogue bubbles that get carried away, so maybe consider doing this outside. Don’t be tempted to pop the bubbles, the longer they sit on the paper the better the print.
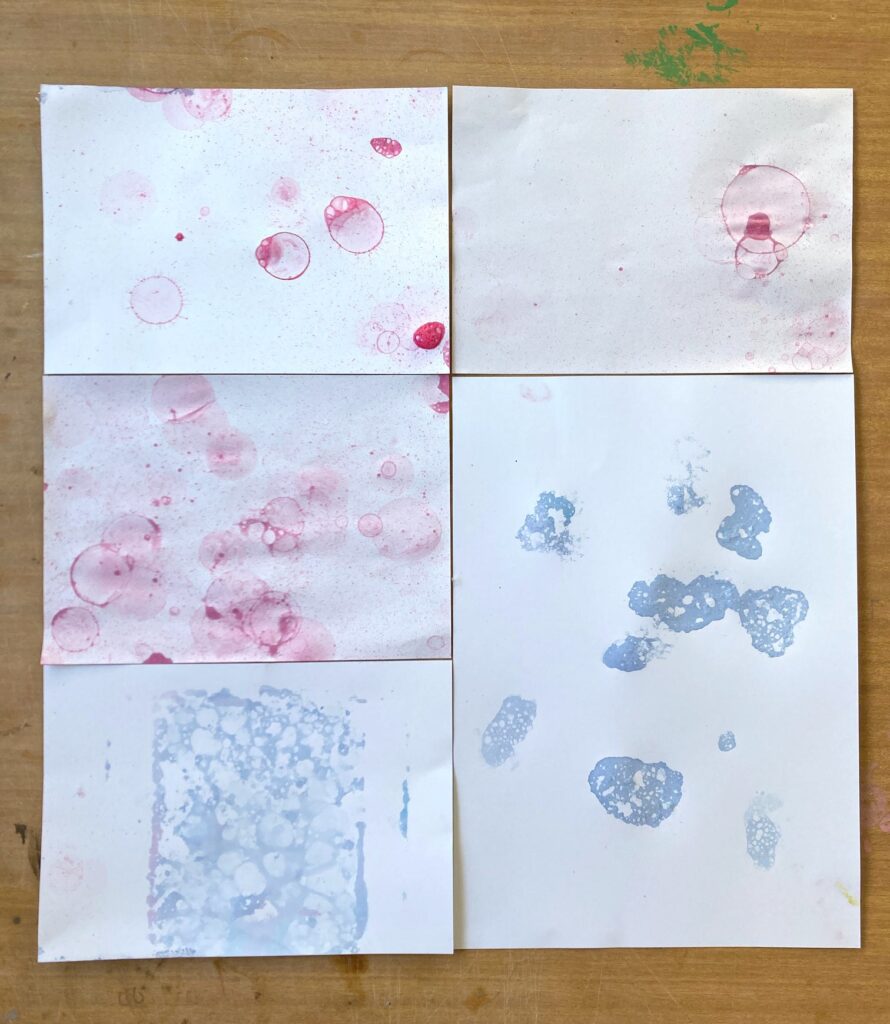
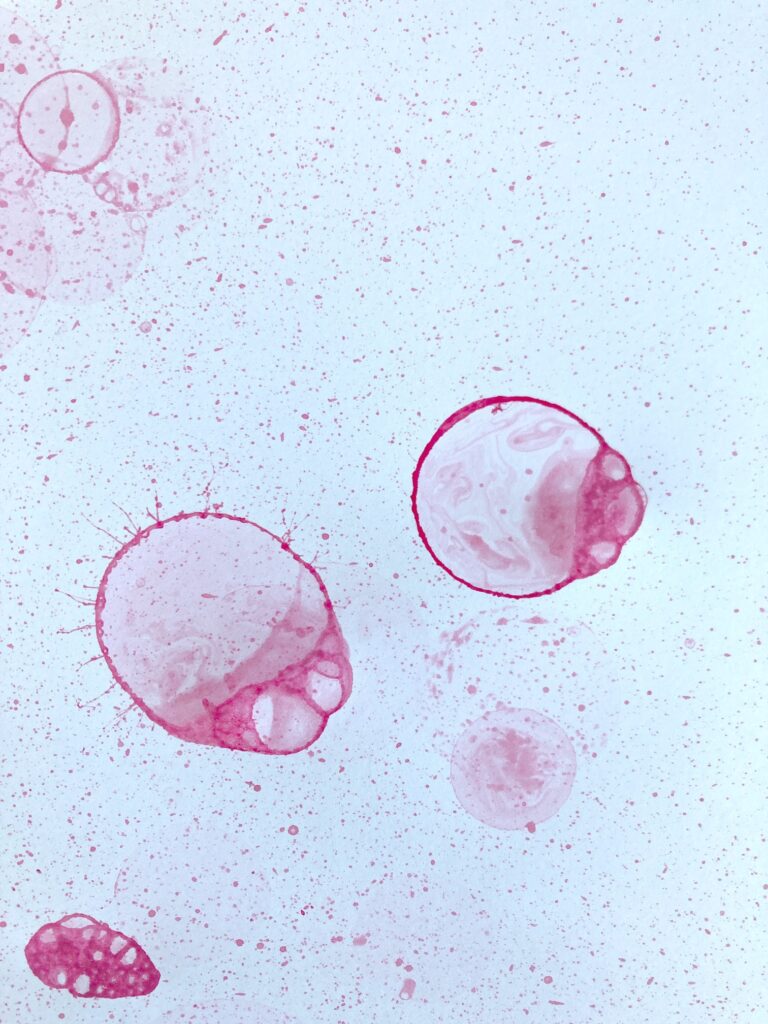
I think these prints are artworks in themselves, but of course you can always transform them into something else fab. See what I have done below. I just traced circles on the back, cut them out, and then made a bubble artwork on some A3 card. These bubbles also remind me of coral, or the kinds of things you find on a petri dish! What will you make with your bubble prints?
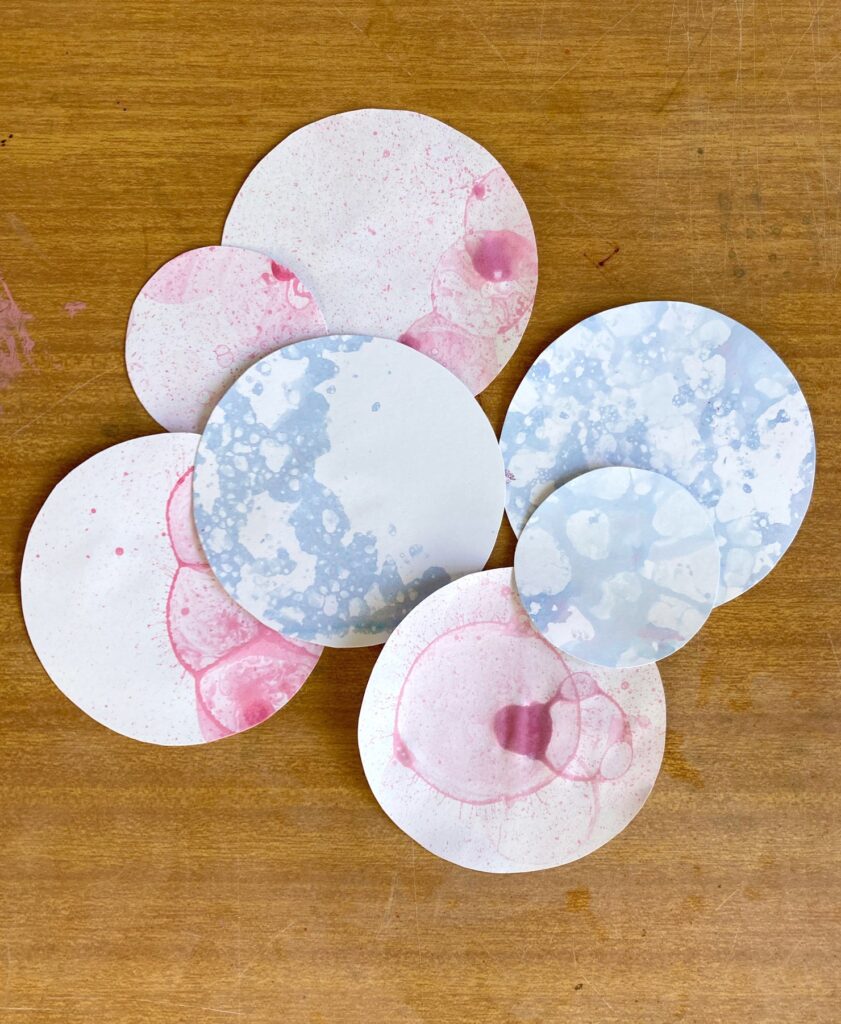

What a beautiful project to do with kids of any age! Fun, colourful, creative, resourceful – using things you already have! Make sure you check out the work of Japanese artist and icon Yayoi Kusama as a reference for this project – she loves her circles.
Show us your bubble art! And let us know what you think about this project in the comments below.Until next time – keep creating kids!Tracy x
Inspire your students to think and learn in new and exciting ways. Book a RAW Art workshop for your class today.
We will be in touch within 48 hours.