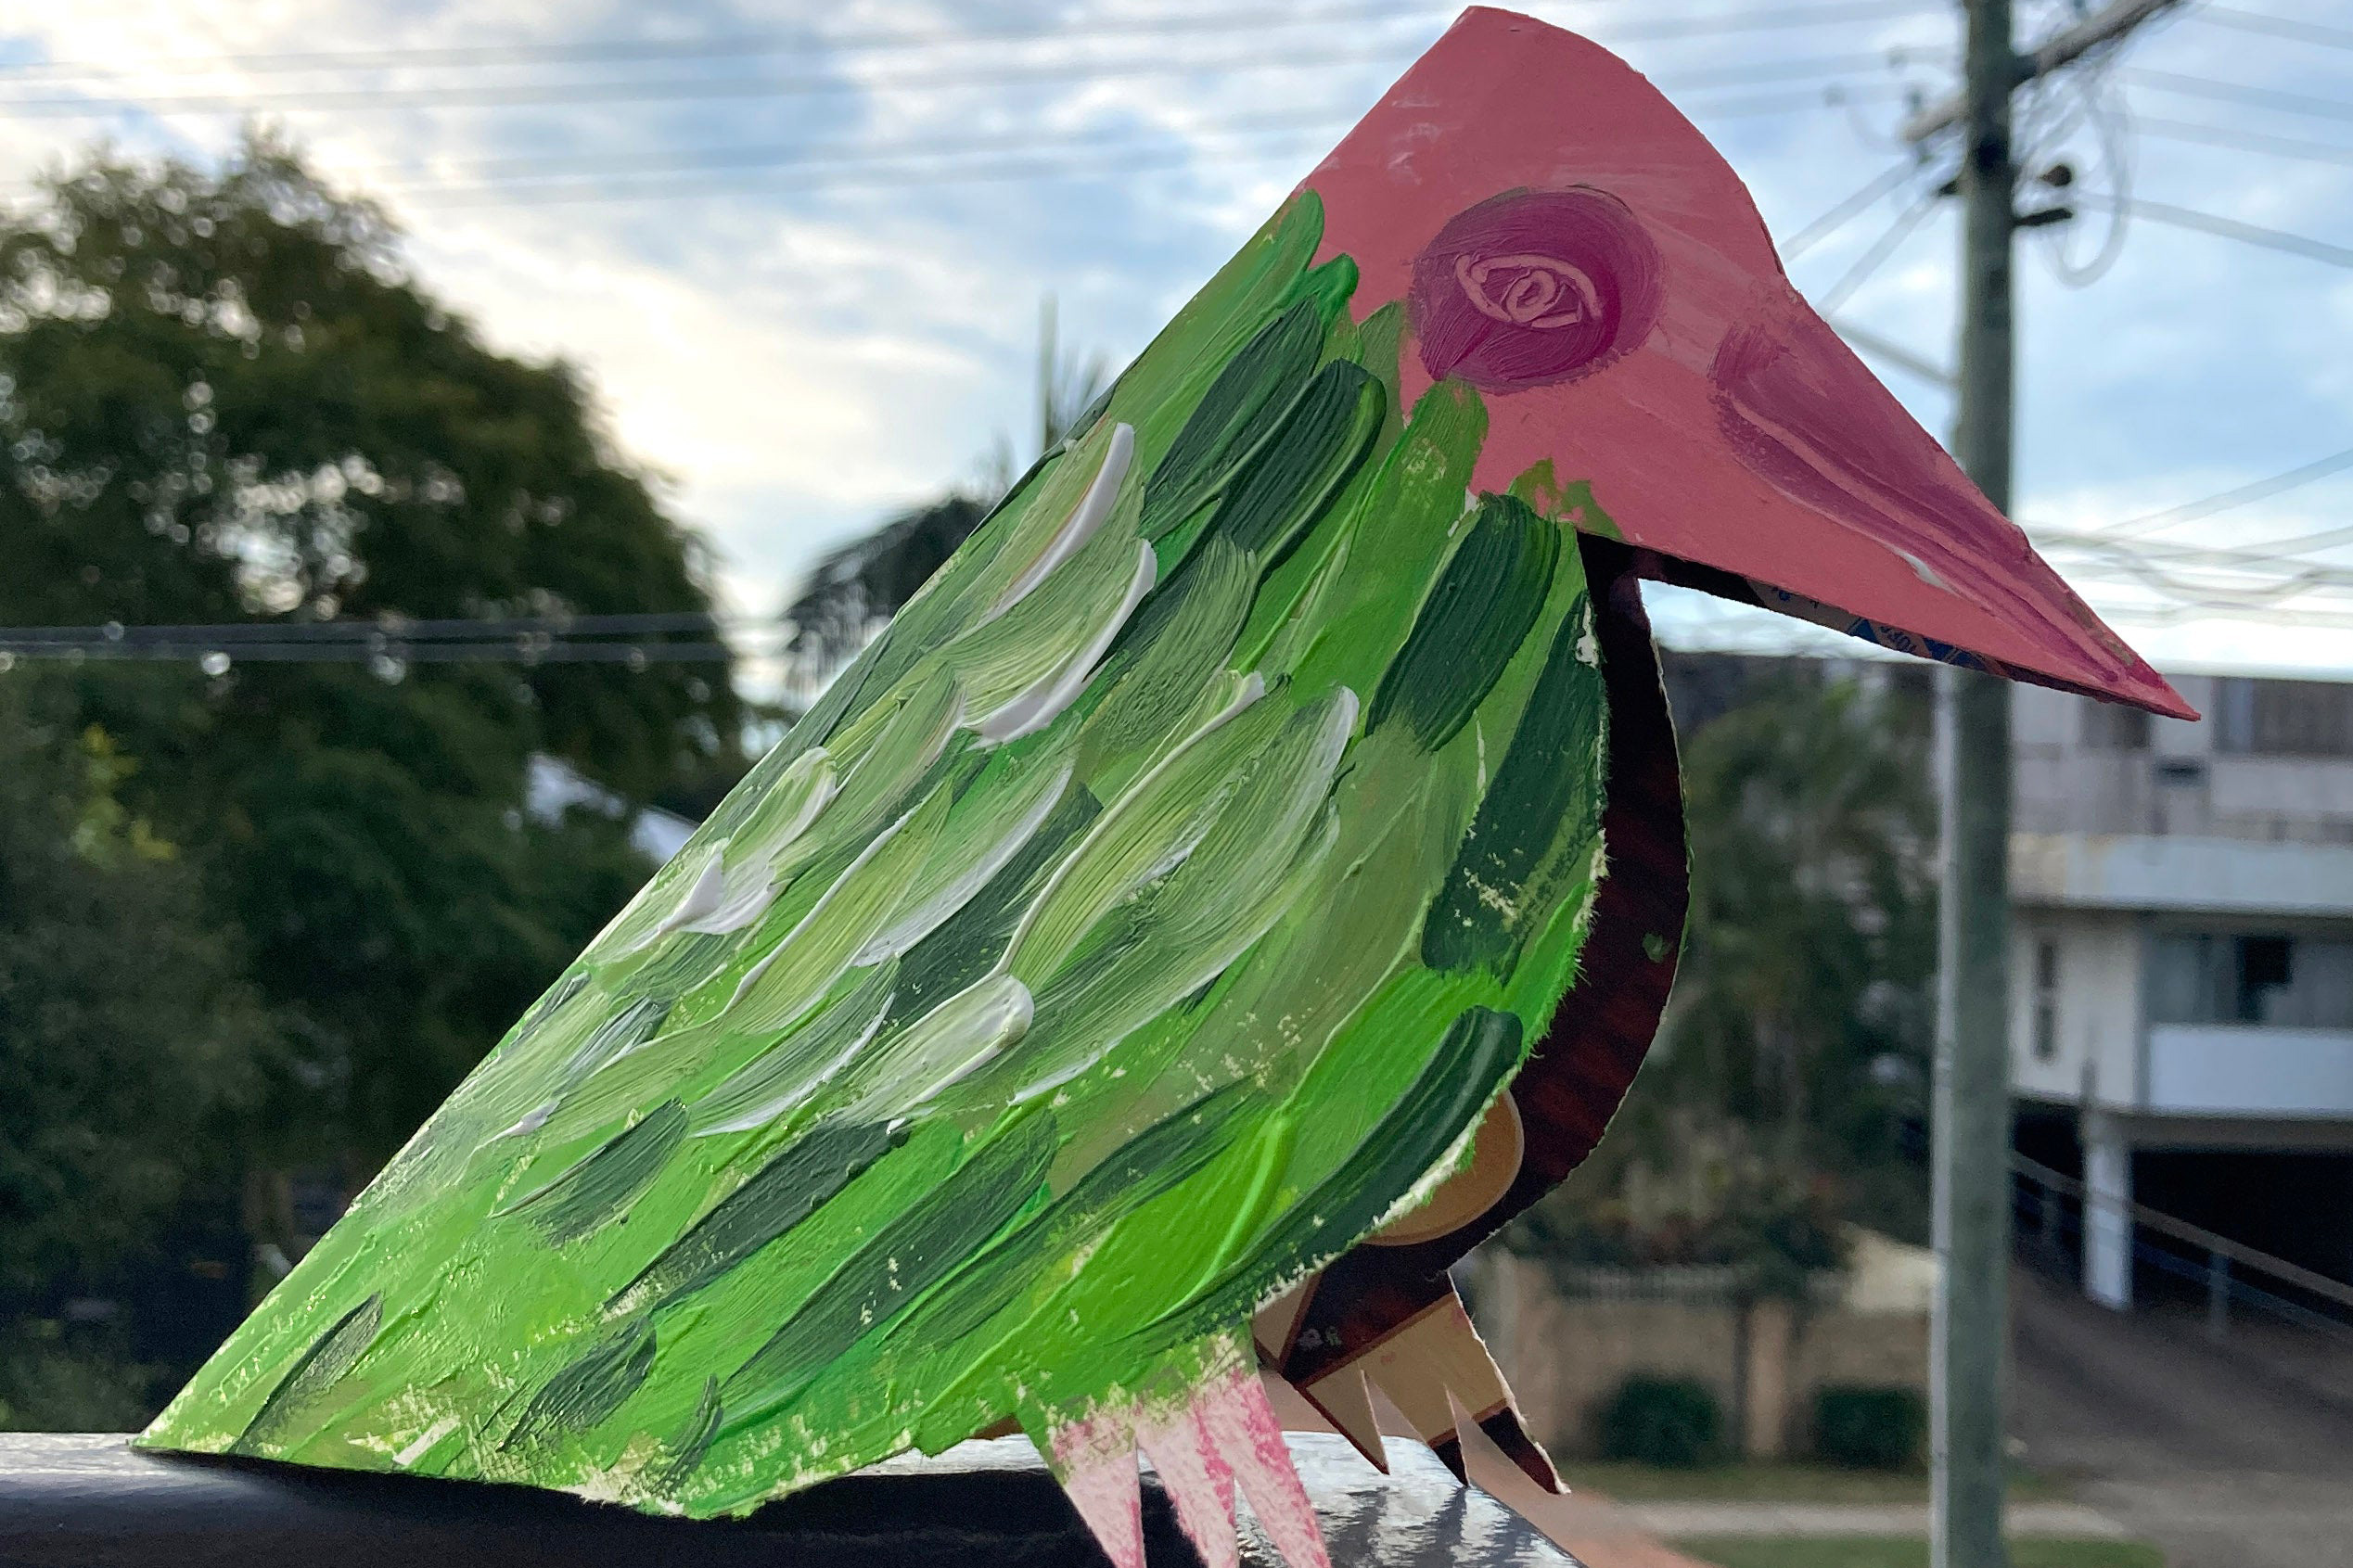
Bird sculptures
Are your kids sick of drawing on A4 white paper? How about a sculpture activity that uses just cardboard from a cereal box, a pencil, some scissors and a staple? I am sure you will love this one, and it is bird themed – who doesn’t love birds?
I have designed three super simple shapes that fold to make 3D birds. These can be coloured and decorated in many different ways, which I will elaborate on more at the end.
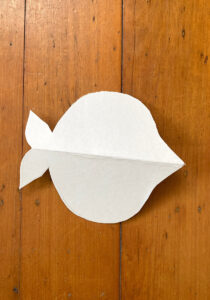
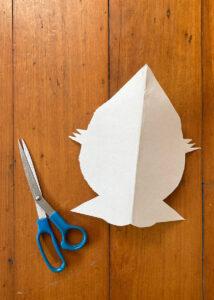

Start with cereal box card. Cut off the biggest side of the box for your bird.
For the first two designs, start by folding this piece of card in half and give it a good crease. Now trace on your bird silhouette with a pencil, edit the shape as you see fit to suit your favourite type of bird. If you are doing this as a class activity, then you can make templates.
Cut the shape out, ensuring you are sandwiching the card together the whole time, and cutting both sides of the folded card. Open up the shape and place a staple in the appropriate place so it stands up, I recommend the beak.
The winged bird is only slightly trickier. Fold a longer skinny piece of card in half long ways. Draw your bird body silhouette with no wings, and cut it out so your bird if folded down the spine. Now out of a fresh piece of long card – about the same length as the body- cut some wings, in one single piece.
Now with the bird body still folded together, cut a slit into the card around the birds shoulders as wide as the wings, then slot those wings in.
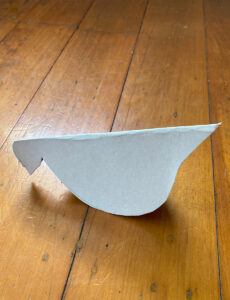
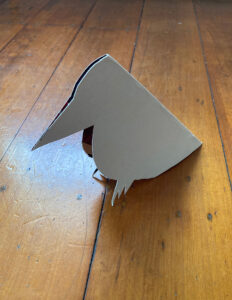
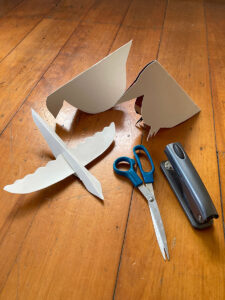

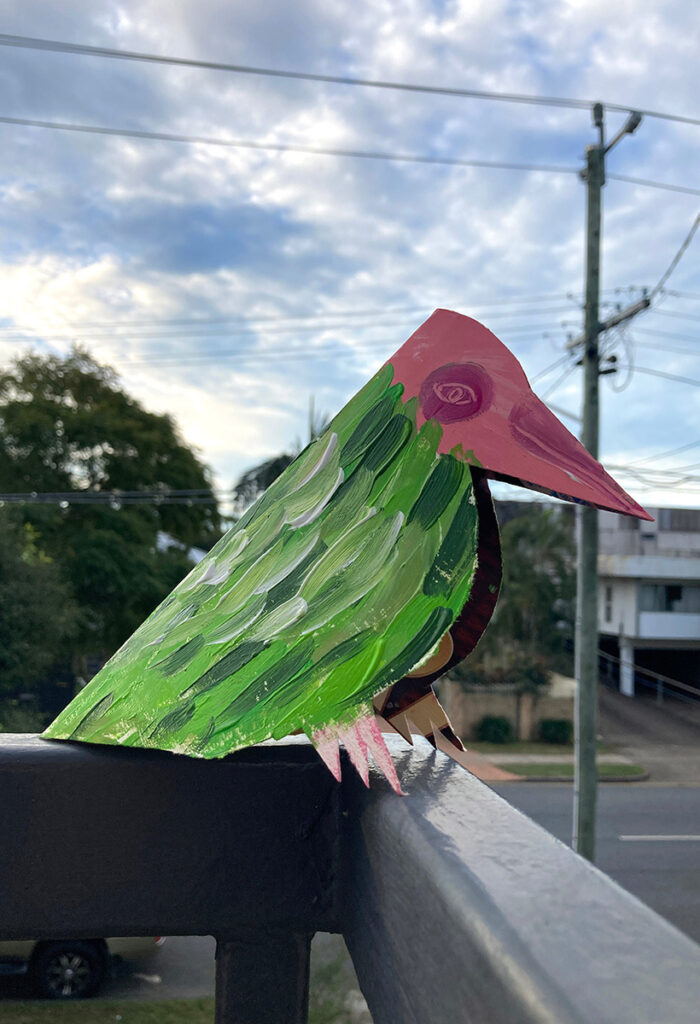
These birds might be best decorated flat, depending on the age level. I recommend maybe a base colour applied then finer details can be added one assembled/stapled. I used acrylic paints on mine, in a simple dash pattern. Textas, paint pens, collage, even feathers can also all work really well.
Inspire your students to think and learn in new and exciting ways. Book a RAW Art workshop for your class today.
We will be in touch within 48 hours.