
4 ways to work with scissors- snip snip!
Scissors are an integral tool in so many craft projects, from collage, to construction. I am going to give you some neat ideas on how you can expand your scissor skills to enhance your art projects. I will start with the easy ones, suitable for learners, and work up to some more complicated ones for those wanting a challenge.
Also remember kids these days do not utilise their fine motor skills enough – too much screentime and not enough using hands and fingers for things like threading/ twisting/ weaving/ drawing/ cutting. Lets get the kids back into creative mode with some fun scissor based projects.
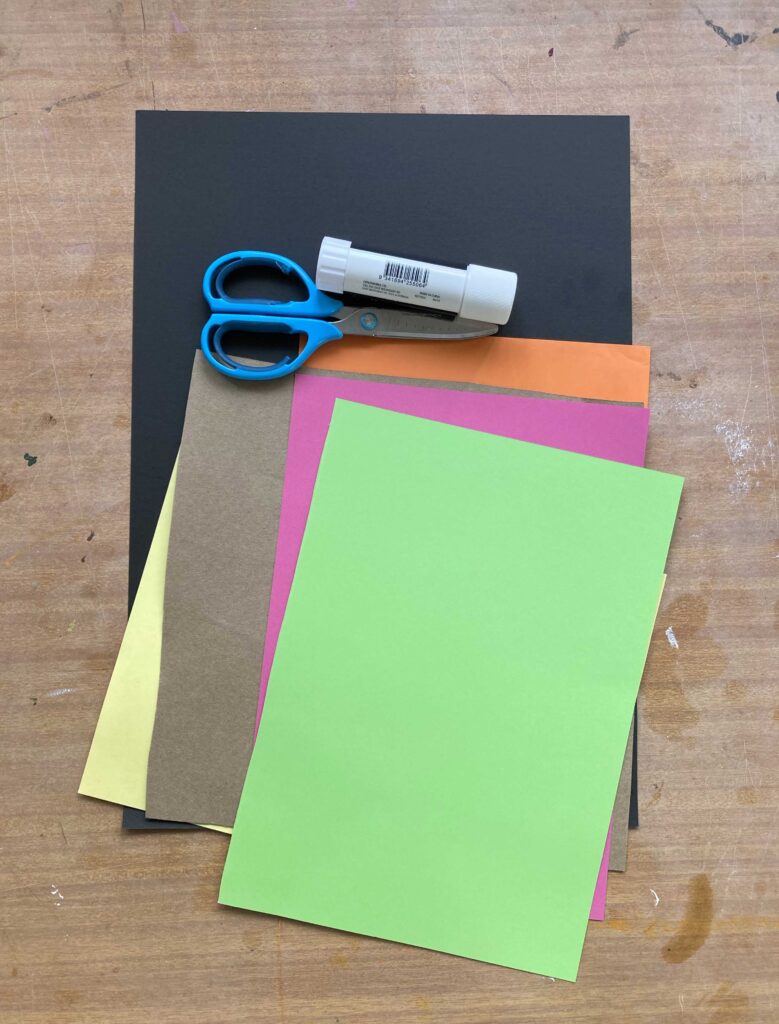
All you will need is some good old fashioned paper scissors and glue!!
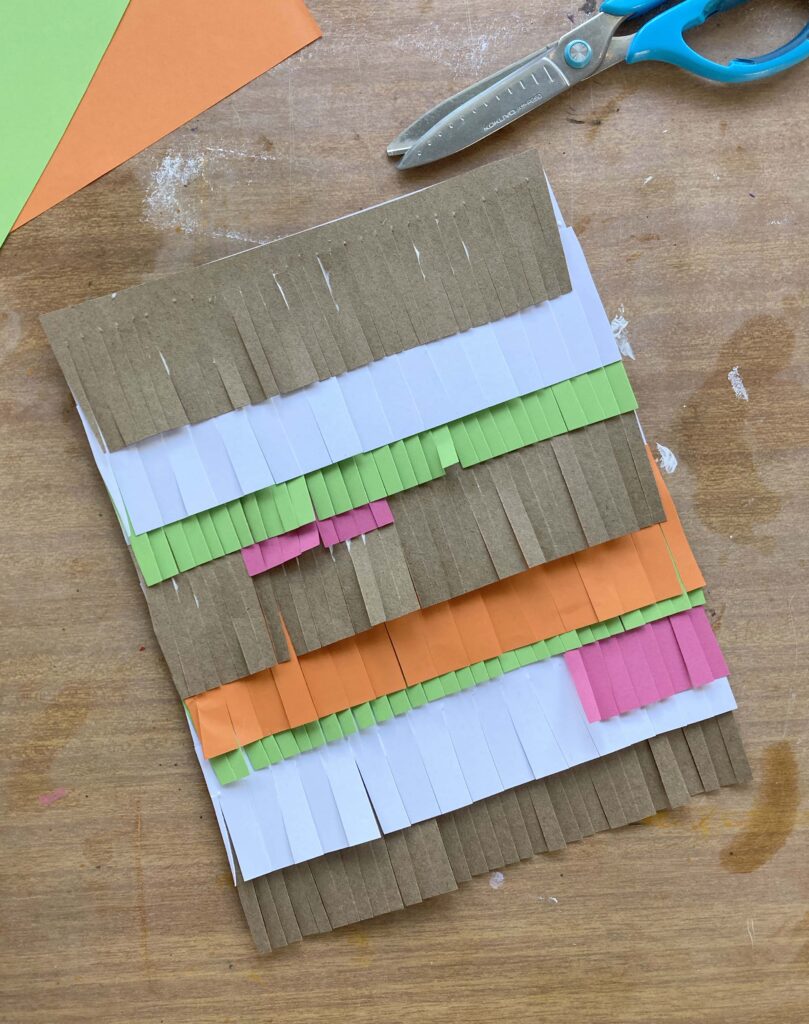
Fringing:

So easy, snip snip snip.
Start with some strips of paper or cardboard, snip into the edges but not all the way through so they all remain attached. Keep going the full length of the card strip. It doesn’t matter if they are not perfect. These ‘fringes’ make excellent texture, or a fun border for artworks.

Borders:


Instead of just cutting out your shape and gluing it down, try and add one, two, or three coloured borders around it. This requires you to glue your shape down to a fresh piece of paper, and re-cut it out leaving a gap or ‘bubble’ around the original shape. The more times you do this the more amazing it looks! Try contrasting coloured paper for a great effect.
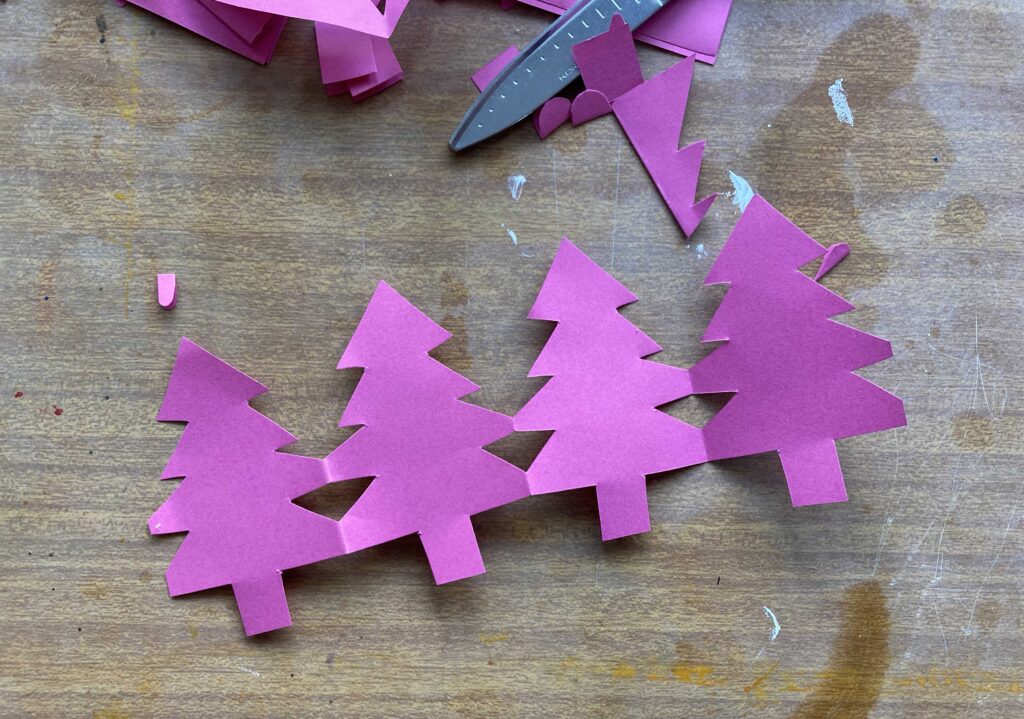
Fold and cut:
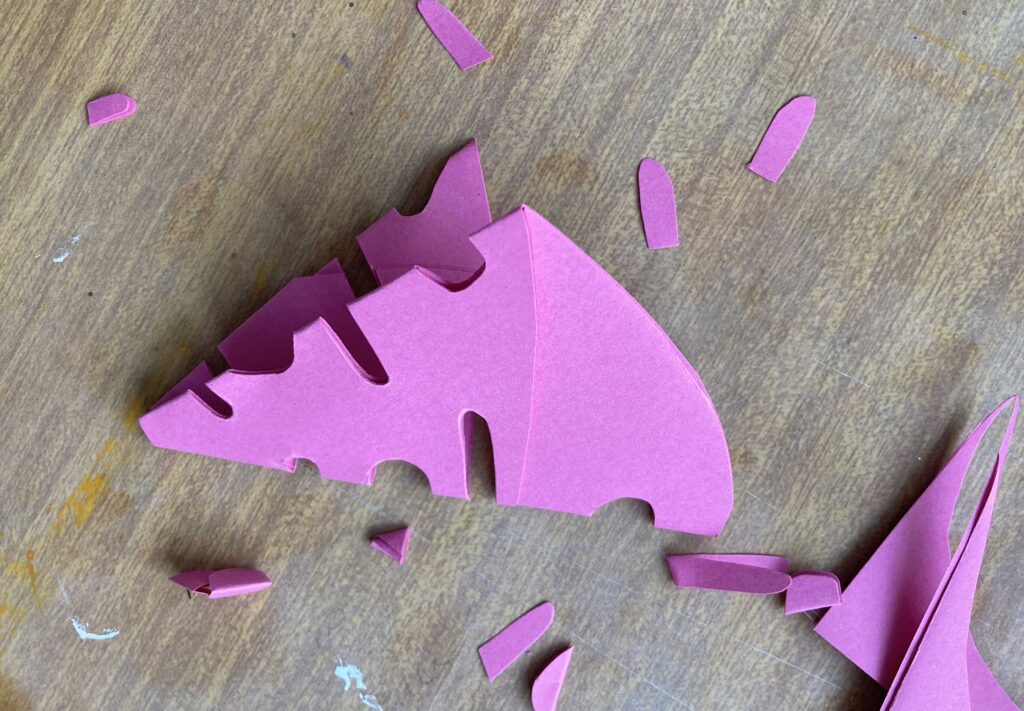
You might remember this technique for making snowflakes. It is timeless, easy, and allows for that really fun reveal when you open it up. Kids are always amazed by this effect!
Shadows:

Find a piece of black card and a piece of coloured card. Draw on the coloured card a subject of your own choosing, though it helps if it has legs for this activity, and leave the bottom third of the card empty.
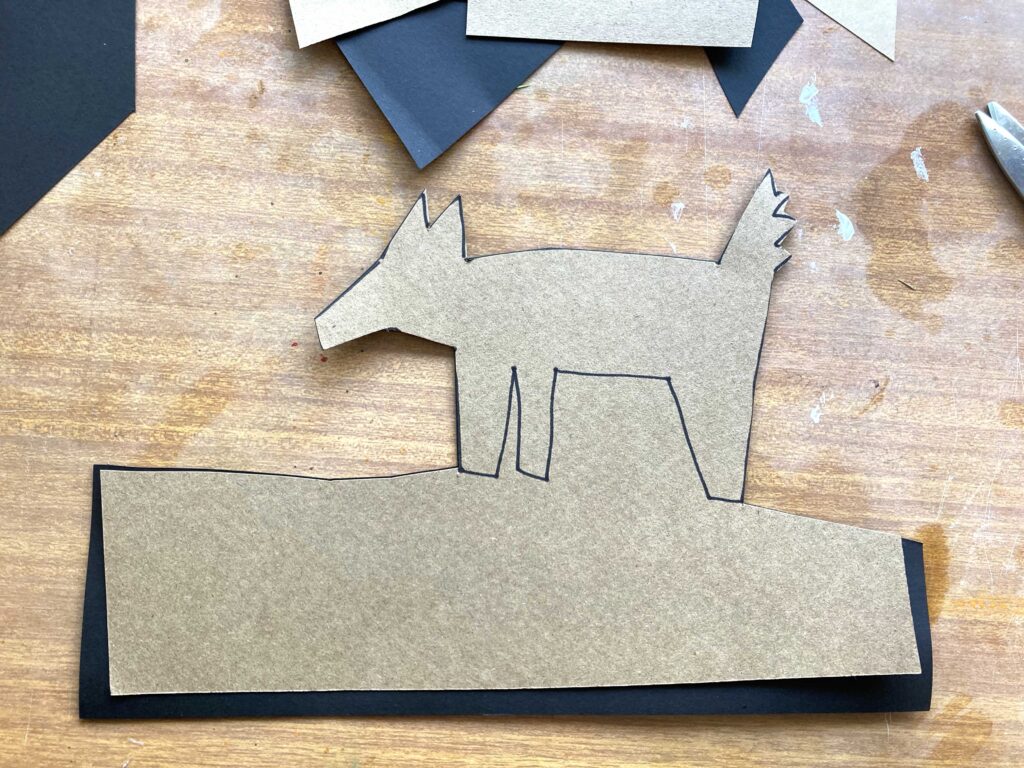
Holding the two together tightly cut out the top of the form, but leave the legs attached to the bottom of the card. Cut out the bottom leaving some long strips of card attached to your legs, these will become the shadows on the ground, so I think it is most effective to make them on an angle.

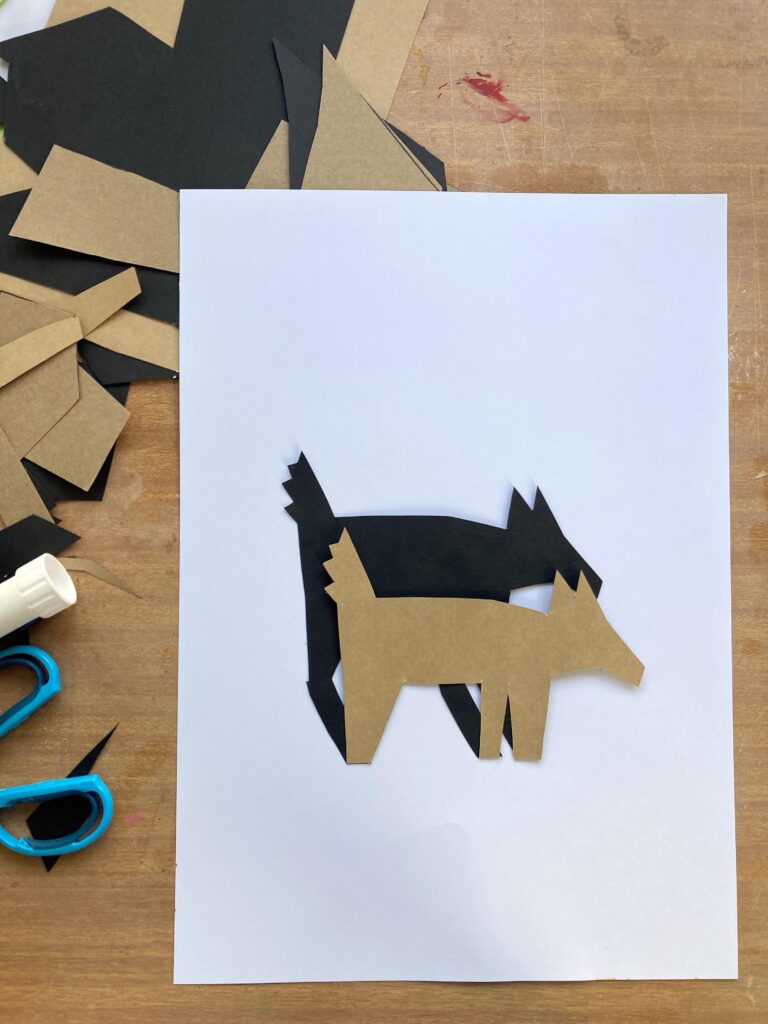
Remove the top coloured layer of card and cut the shadow off them. Now arrange your character on the shadow and trim off any excess card. Glue down the two layers onto a third piece of card for the best effect.

I had my own children cutting with scissors from the age of three – don’t be afraid of kids using scissors. Just teach them to hold them properly, and teach a few of the fundamentals – positioning the paper in the right spot, positioning the scissors away from the body, watching fingers. Kids are pretty smart and will quickly get the hang of it!
Lets teach kids how to really elevate their art projects with some skilful cutting!
Happy snipping folks!
Catch y’all next week with some more crafty arty tips for your little ones.
tracy x