
Welcome to our Creative Ideas Blog – quick simple low-budget art ideas for teaching art to kids.
RAW art is a team of art specialists who run art incursions in schools and kindys throughout SEQ and Sydney/ Newcastle. We also have a fabulous range of DIY art kits which we send to schools and kids throughout Australia.
Nail-polish Mobiles
I am always on the lookout at home for materials and equipment that can be absorbed into art activities, if you tune your eye, you will probably find some new ones too. This week I realised I had so many coloured nail polishes, I have no idea why, because I rarely paint my nails, but my child is fascinated by the colourful bottles. Why not use these for some delicate little paintings? The other thing that I am drowning in lately is plastic berry punnets – strawberries are absurdly cheap right now, so my recycling bin is overflowing with them. I think plastic milk cartons will also work well for this project!
Read on to see how I have combined these unexpected art materials into a colourful kinetic mobile project that can be created with kids 7 and up.

You will need 3-4 clear berry punnets, ideally with the stickers removed (soak overnight), some assorted nail polishes, a hole punch, scissors, and something to combine your mobile (wire, twine, dental floss, fishing line, pipecleaners, etc).
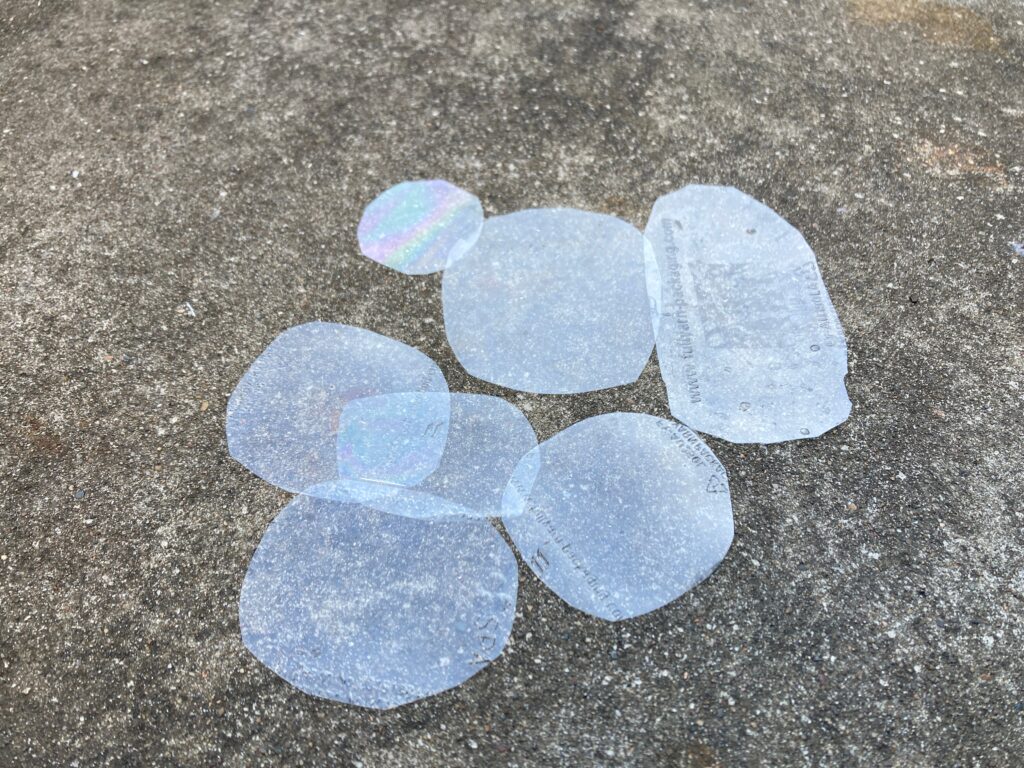
Cut circular or oval shapes out of the top, bottom, and sides of your berry containers, various sizes but as big as you can get. Hole punch each one on one edge.
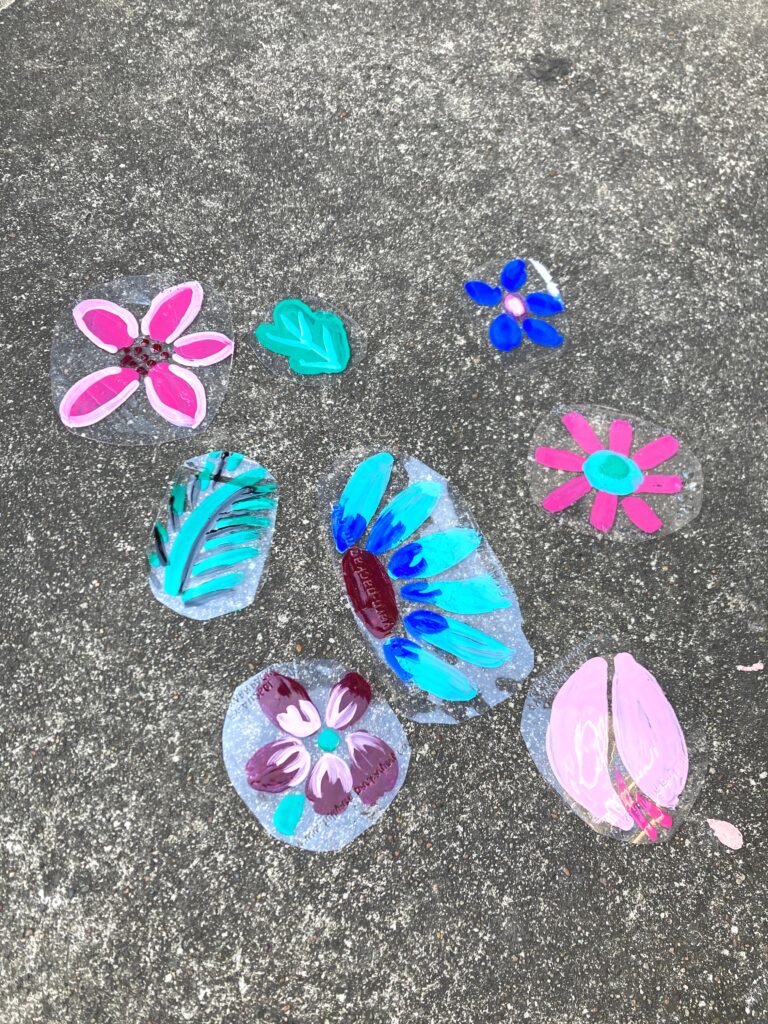
Now paint each clear disk with your nail polish, I chose various flower designs, but you could also do bugs, birds, faces, or autumn leaves for example. Build up your tiny paintings with layers of colour, ensuring you leave a bit of drying time between each. Once you have completed your painting (depending how thin your coats are) will need at least half an hour to dry – I found that out the hard way, be patient.
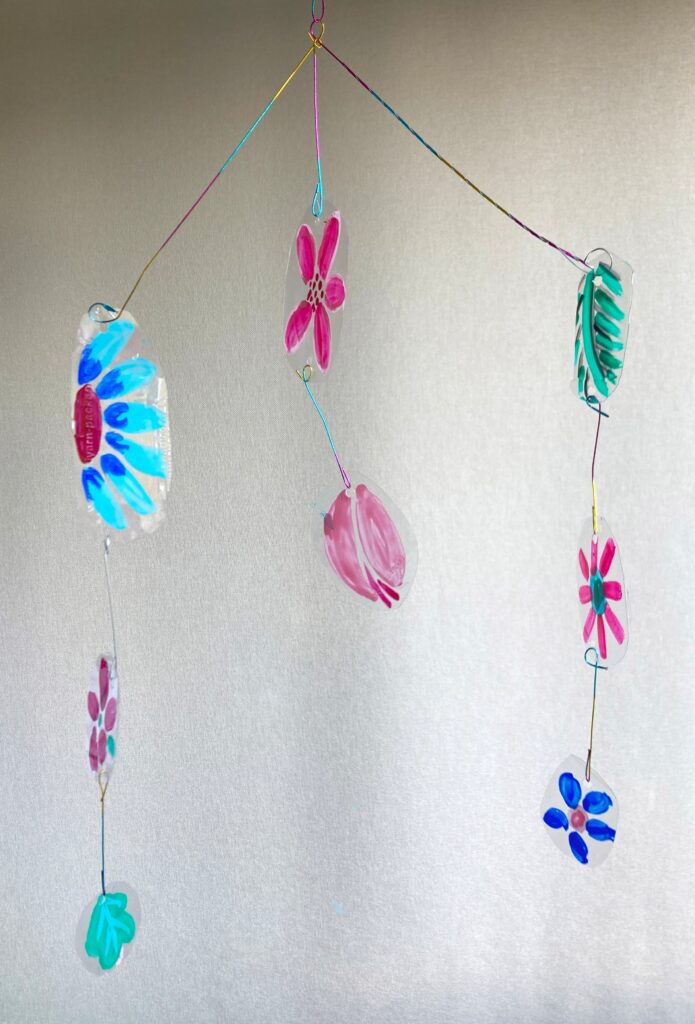
Now assemble your mobile, your composition and construction will depend on what materials you have available, and how many paintings you made. It is always nice when making a mobile to have a sturdy top bar, and then something a bit more moveable for the hanging pieces.
Hang you work up in a breezy spot to best appreciate the kinetic qualities of your work.
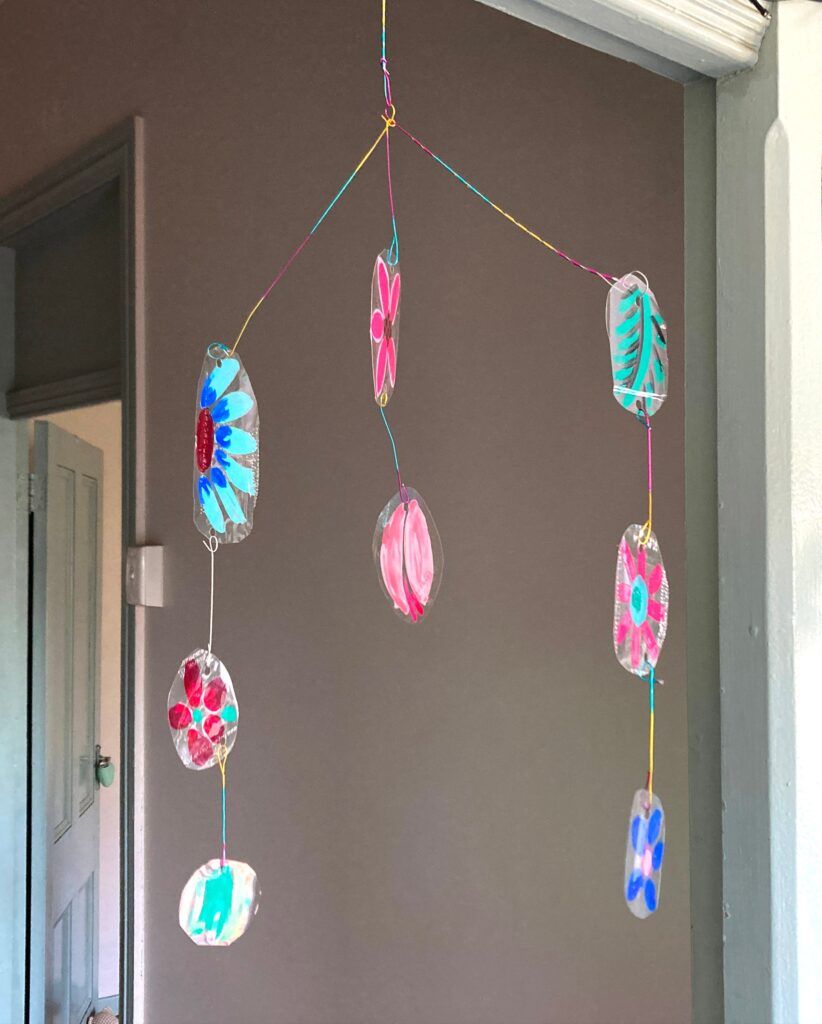
I love how the light picks up all the vibrant colours, and the wind moves the shapes around in a delicate hypnotic motion.
This was a fun, simple project, which achieved beautiful results. Check out the amazing mobiles of American artist Alexander Calder to inspire more mobile-making ideas!
Until next time!
Tracy x