
RAW art is a team of art specialists who run art incursions in schools and kindys throughout SEQ and Sydney/ Newcastle. We also have a fabulous range of DIY art kits which we send to schools and kids throughout Australia.
White-out Wonderland
I set myself a challenge, to take the most boring of stationary items and make some brilliant art out of it! This week I worked with correction tape. Maybe you have some old ones lying around, or you can pop to the shops and pick yourself up two for 99c. The three ideas below are all relatively simple, and can work with kids ages 7 and up – managing to master the correction tape is the hardest thing!

Abstract painting:
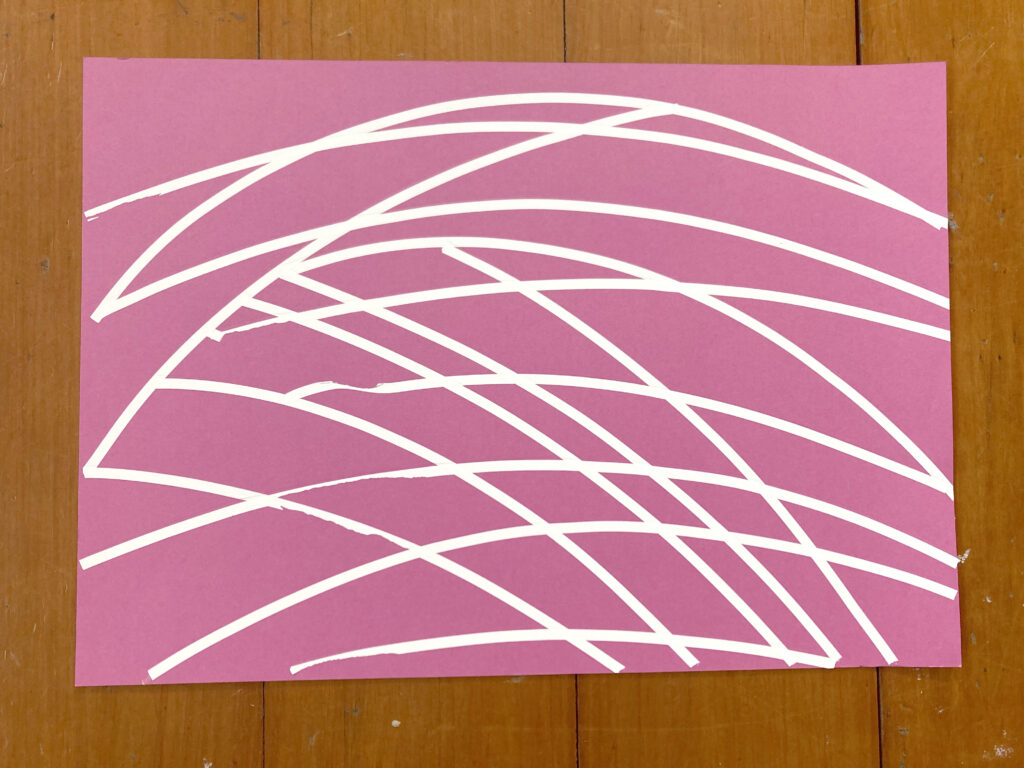
Start by laying down a pattern or drawing with the correction tape on some darker toned card such as Kraft. Make this as wild as you like, but you will find the tape prefers to be applied straight. Then layer on top of this with some bright watercolours. For the best effect work on your painting 2 or three times, giving each layer a good amount of drying time in between, and try adding a different abstract design each time.


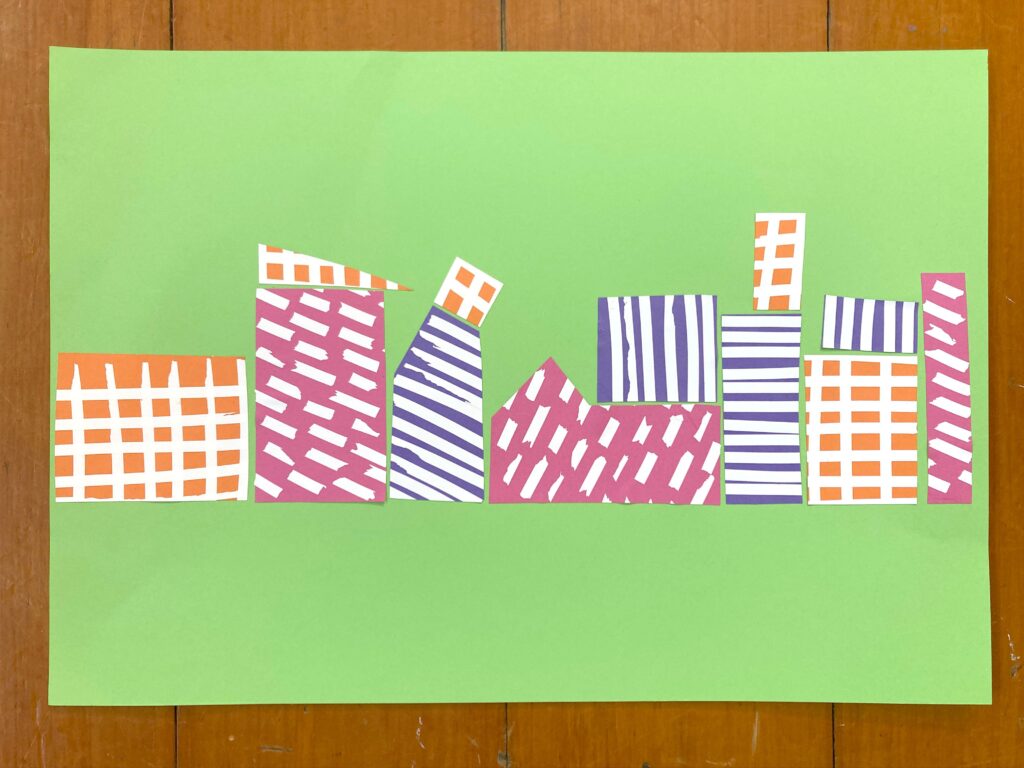
Cityscape:
Take 3-4 pieces of A6 paper or card and apply a different geometric pattern to each. These will become your city buildings so stripes, grids, or dashes work well. Cut these up into a range of building shapes, and then choose some backing card to build your city onto.

Shells:
I was looking for an object which would benefit from being cut from some stripy collage paper, I was thinking zebra, cat, caterpillar, or fish, but in the end I went will shells. I filled an A3 card (A4 would work too) with some slightly curved correction tape lines all over. Then I flipped the card over and drew my big shells on the back, and cut them out. You will end up with some bold graphic lines all over your shells which makes for an excellent collage or even pieces for a mobile?

Best thing I discovered about correction tape after all that? It dries instantly.
Let us know what you think of this idea in the comments below.
Or better still – have a go! And share your results with us – tag us on insta @rawartworkshops.
Until next week,
Tracy x