RAW art is a team of art specialists who run art incursions in schools and kindys throughout SEQ and Sydney/ Newcastle. We also have a fabulous range of DIY art kits which we send to schools and kids throughout Australia.
Confetti art
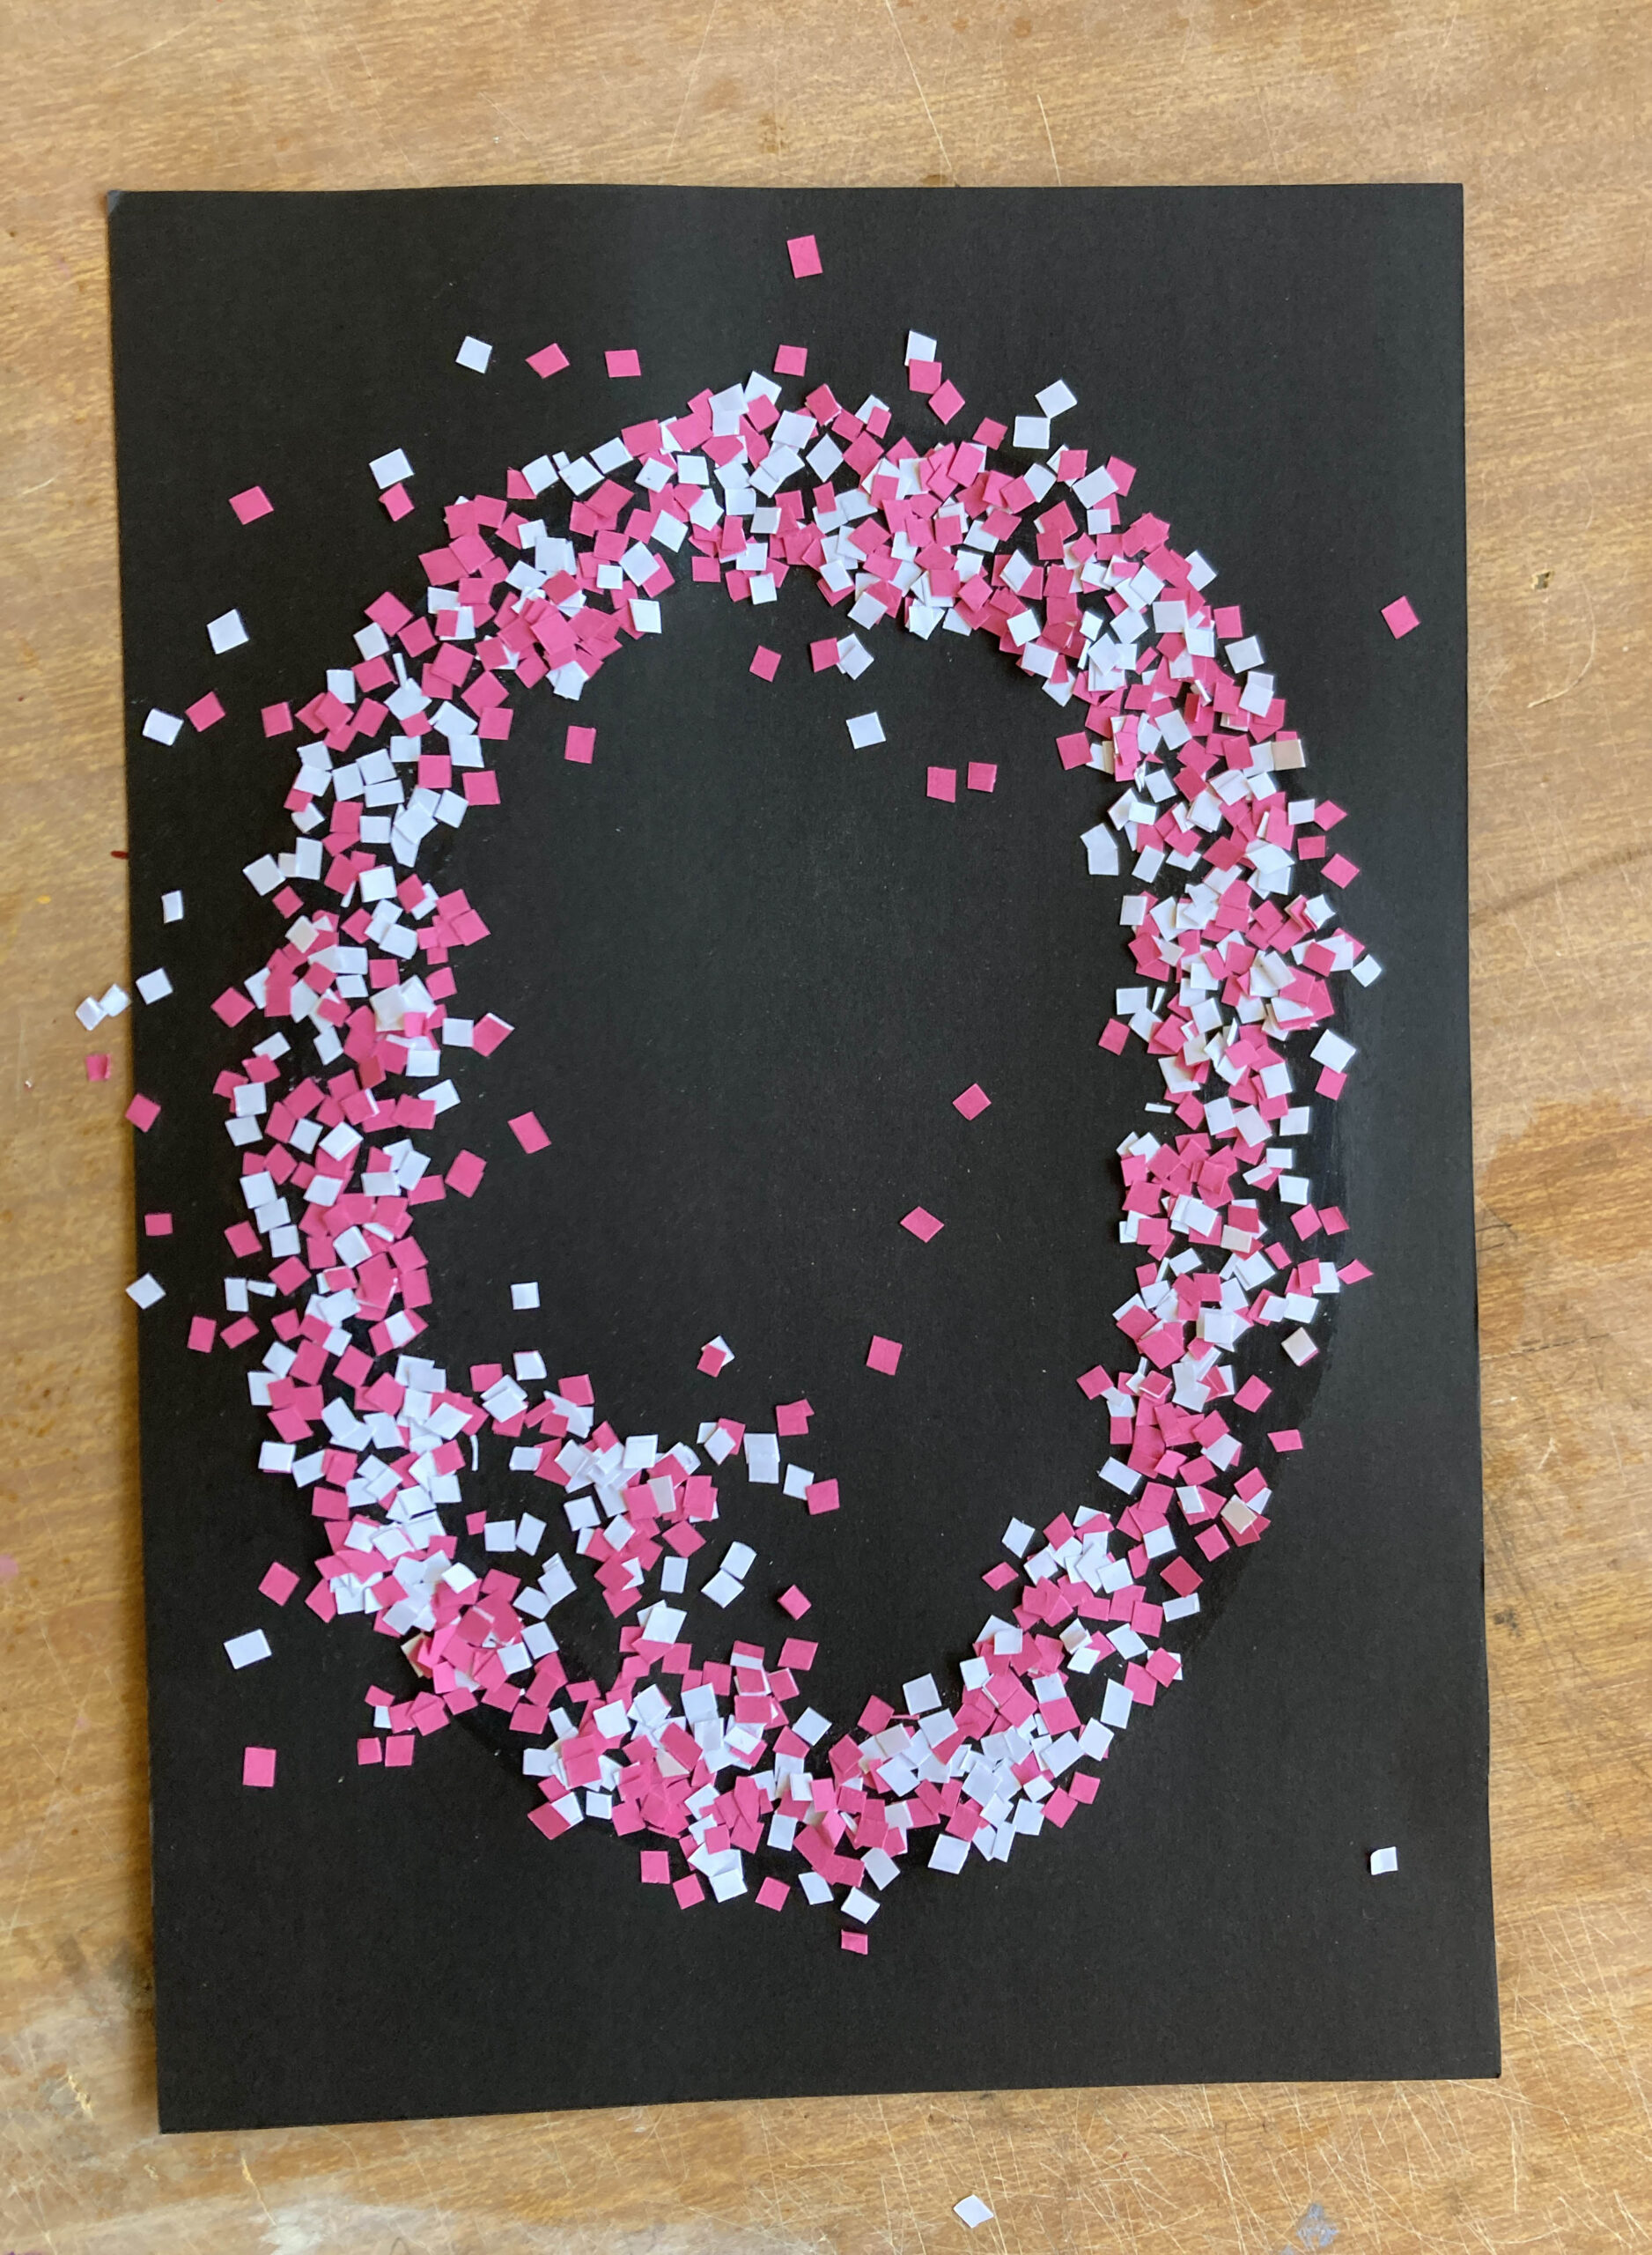
There are so many ways to make an image without drawing. This week I have been playing around with making some of my own confetti to create some dynamic collages. This one is pretty simple and will suit most ages, but get the dustpan and brush ready.
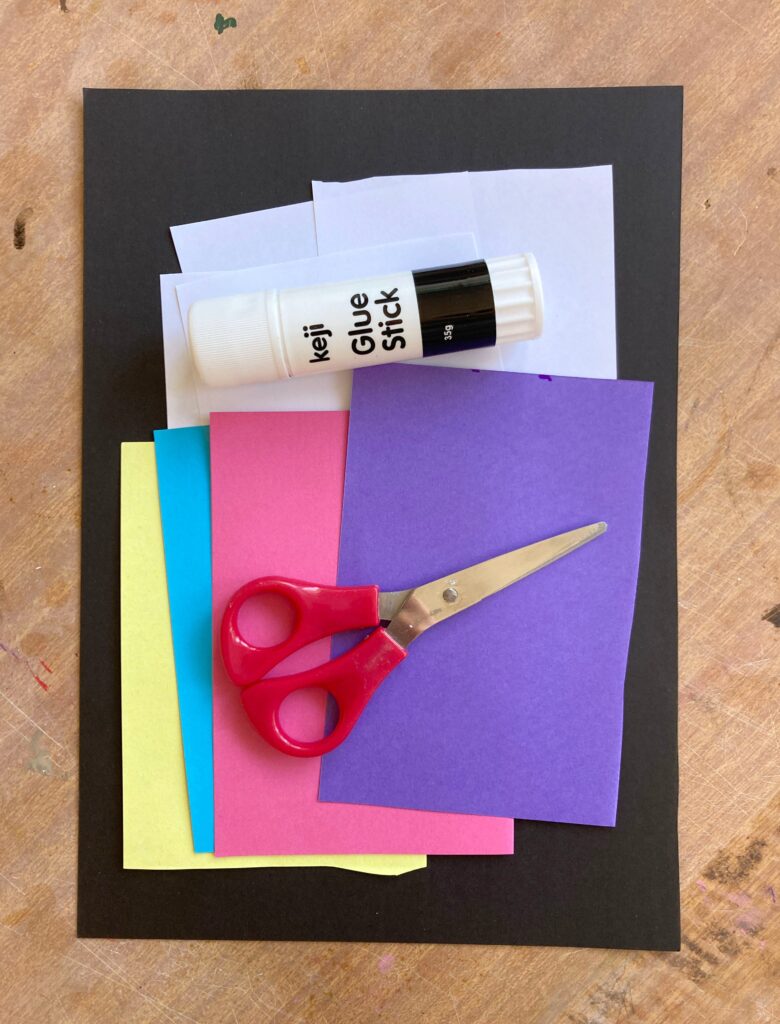
You will need scissors, glue stick, some A4 card, and some assorted coloured and white paper about A5 size.
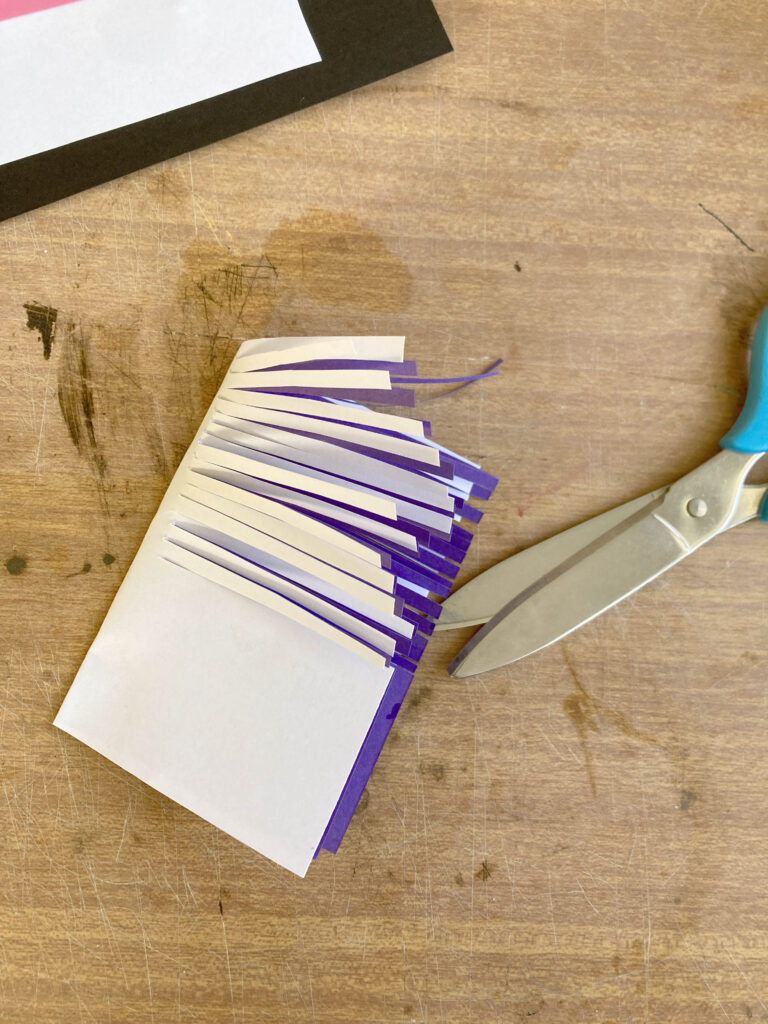
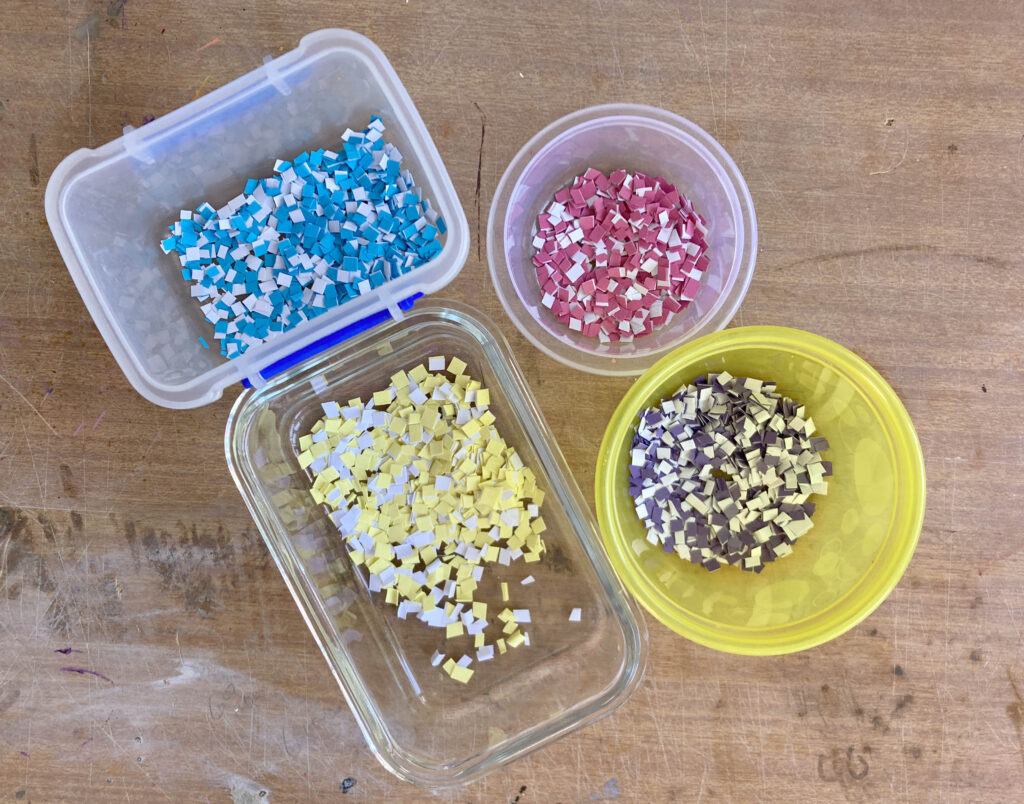
Start by making your colourful confetti. Use one piece of white and one coloured A5 paper folded together like a birthday card. Cut this into thin fringing, then cut the opposite way into tiny squares. I cut these bits directly into some Tupperware containers to reduce mess. Repeat this with as many colours as you like.
You might want to do this next step outside.
Now start drawing your picture onto the cardboard with a glue stick, you will need to scribble or layer the glue at least 5 times over each line to get enough stickiness. Pour some confetti onto the glued area and smoosh it down a bit with your hands. I found it best to wait a few minutes while it dried, and then turn your paper into a U shape and tip it all back off. Keep building up your picture with new glue drawings and colours.
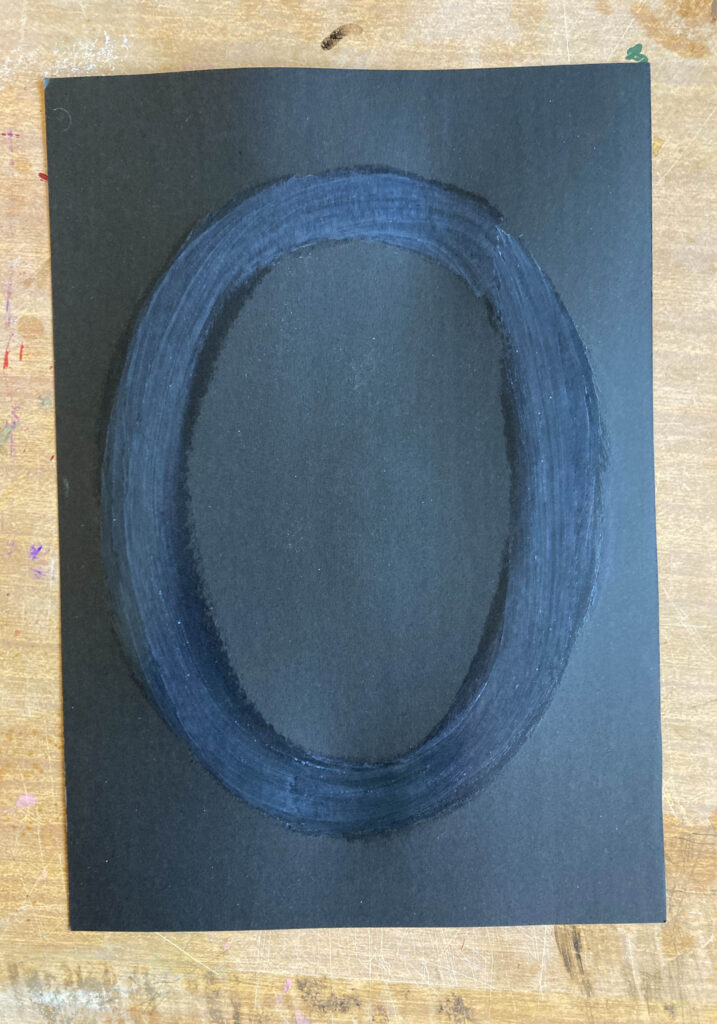
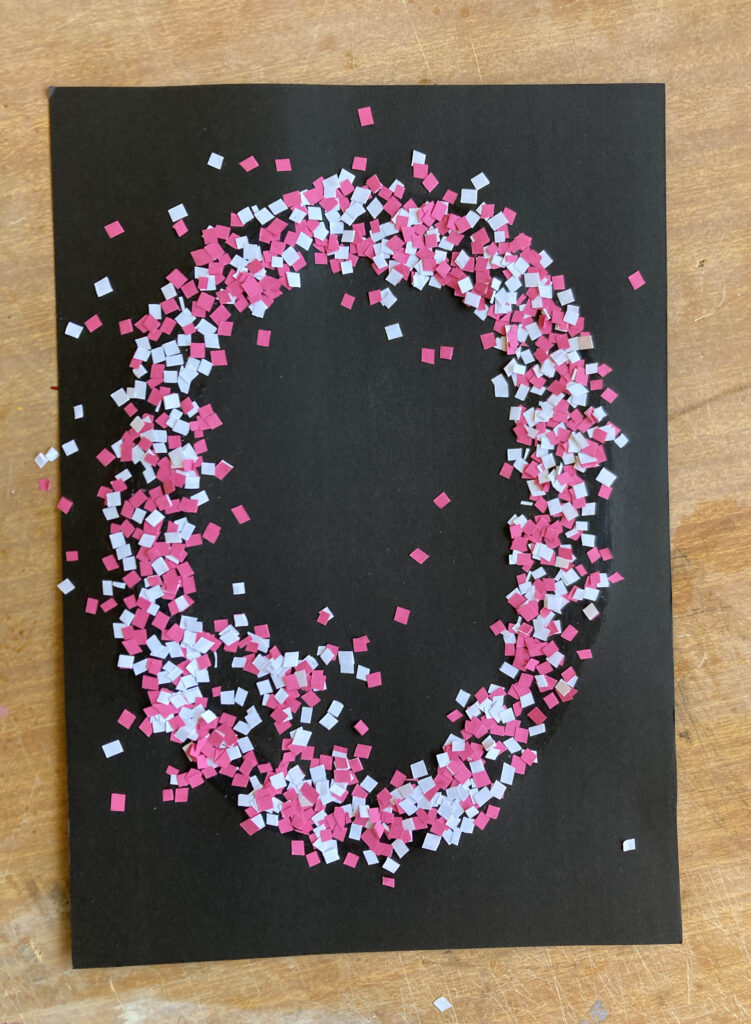
I finished off my artwork by exploring another collaging technique. I cut my work up into chunky sections, and then spaced them out a bit on a new piece of A3 card.
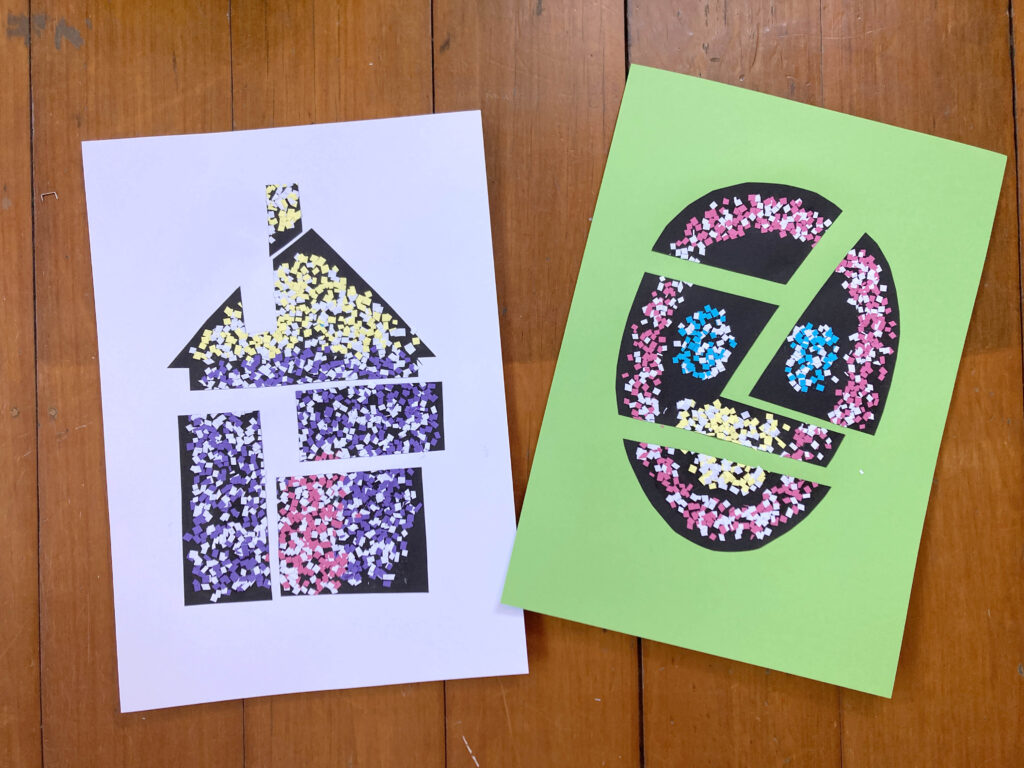
See how your picture changes if you use different shaped confetti, such as using a holepunch?
This is a great process to improve those scissor skills, and a way to explore colour – just work with warm colours, or just cool colours, or earthy tones, or just black and white paper only. See how different colours create different effects.
Who would have thought confetti could be so much fun!
Until next week!
Tracy x
Inspire your students to think and learn in new and exciting ways. Book a RAW Art workshop for your class today.
We will be in touch within 48 hours.