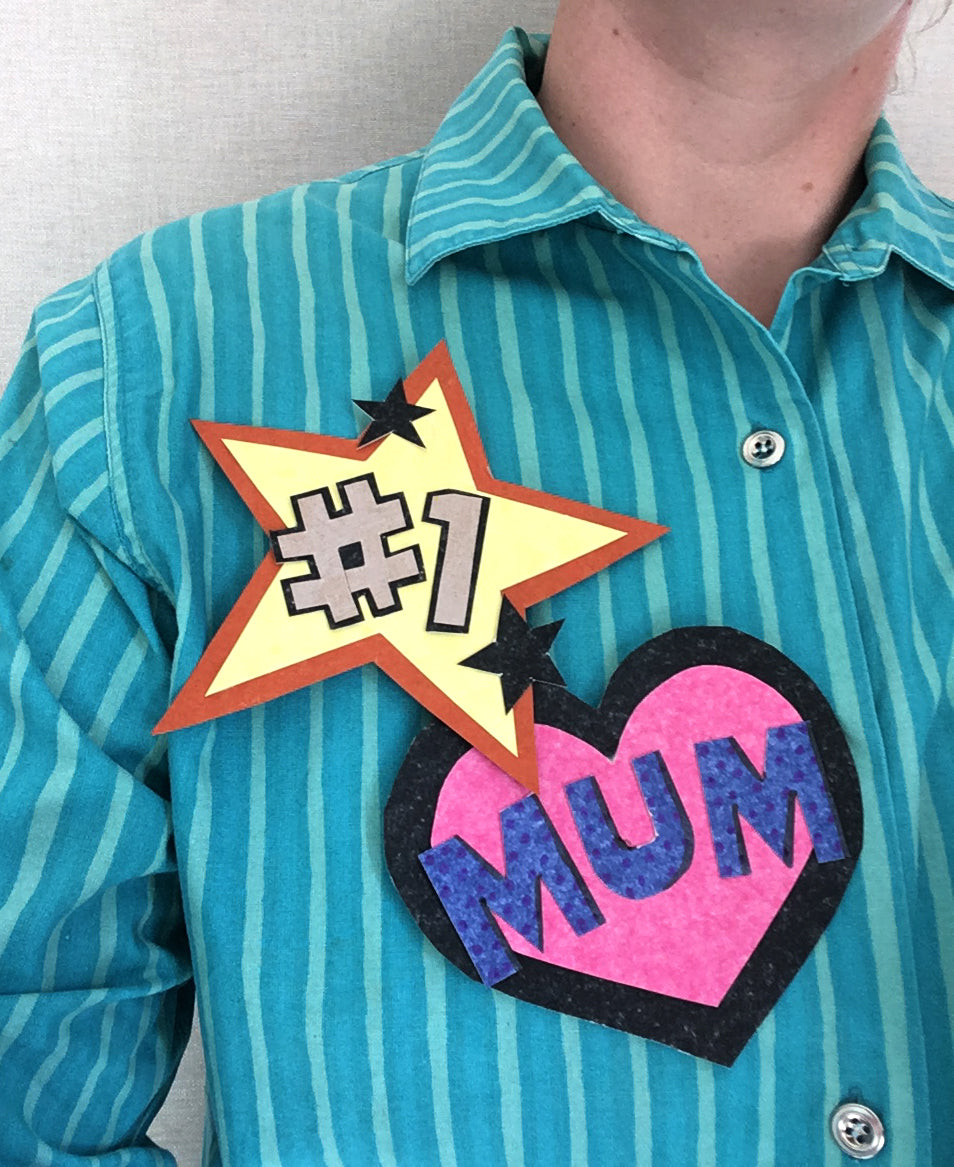
Mother’s day badges
There are so many ways to say I love you, and yet it can be difficult to come up with a fresh Mother’s Day craft activity every year. We are here to help.
Let’s make some super cool Mother’s Day badges to remind your mum how wonderful she is. You won’t need anything too complicated for this, and you can decorate them however you want. But the basic equipment is scissors, glue (stick or PVA), a safety pin, and some thin cardboard – recycled is always best, like a cereal box.
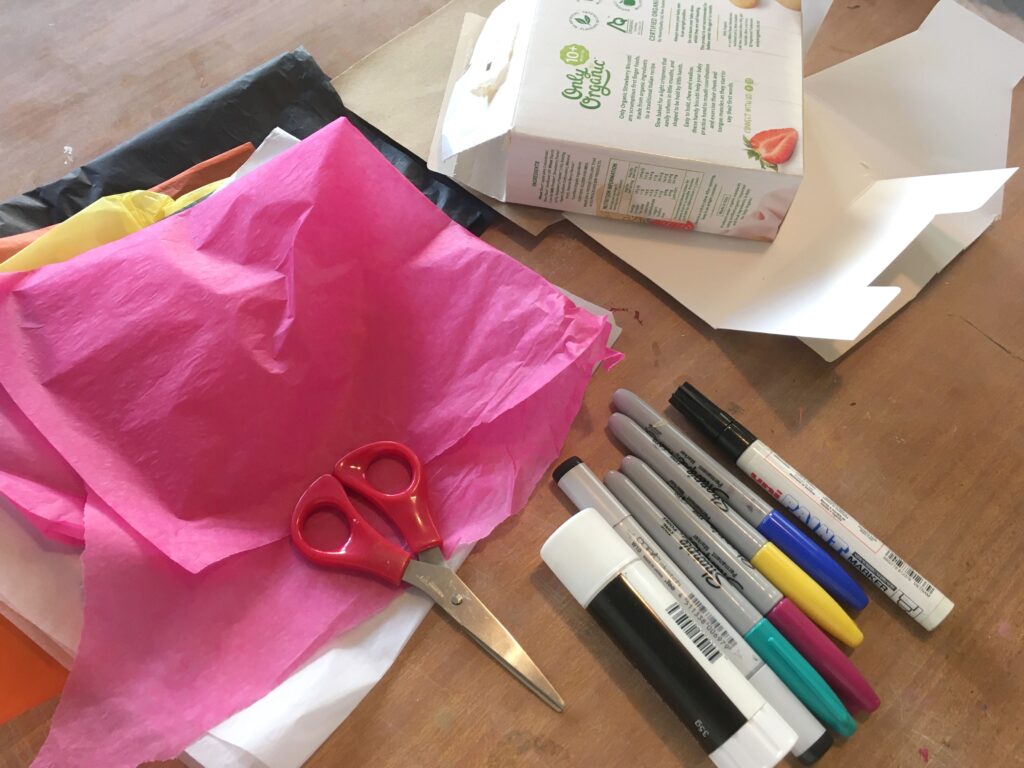
To jazz up the cardboard I glued down a layer of coloured tissue paper onto different sections of the cut-up box. Just a layer of glue stick will be sufficient. The more colours of tissue paper you can get your hands on the better.
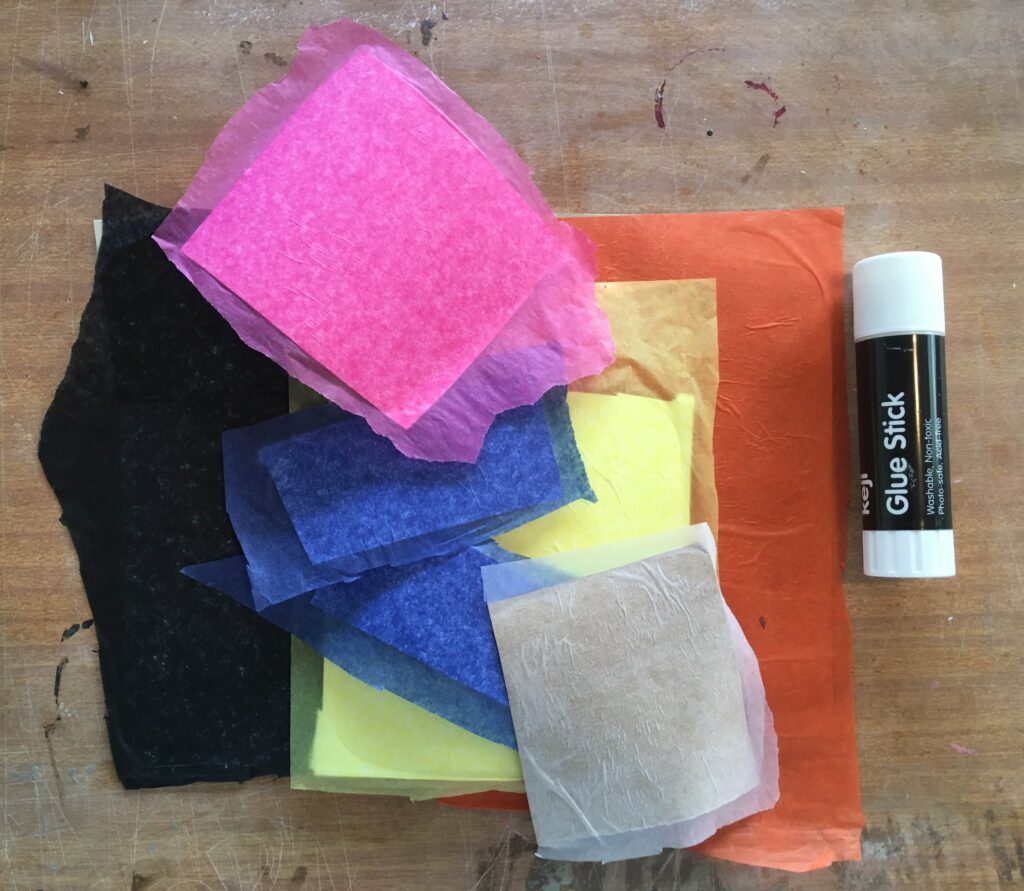
Then I started cutting some collage shapes, these will become the different layers to you badge. Think of your Mum and all the awesome things she does when you are creating your shapes, personalise it!
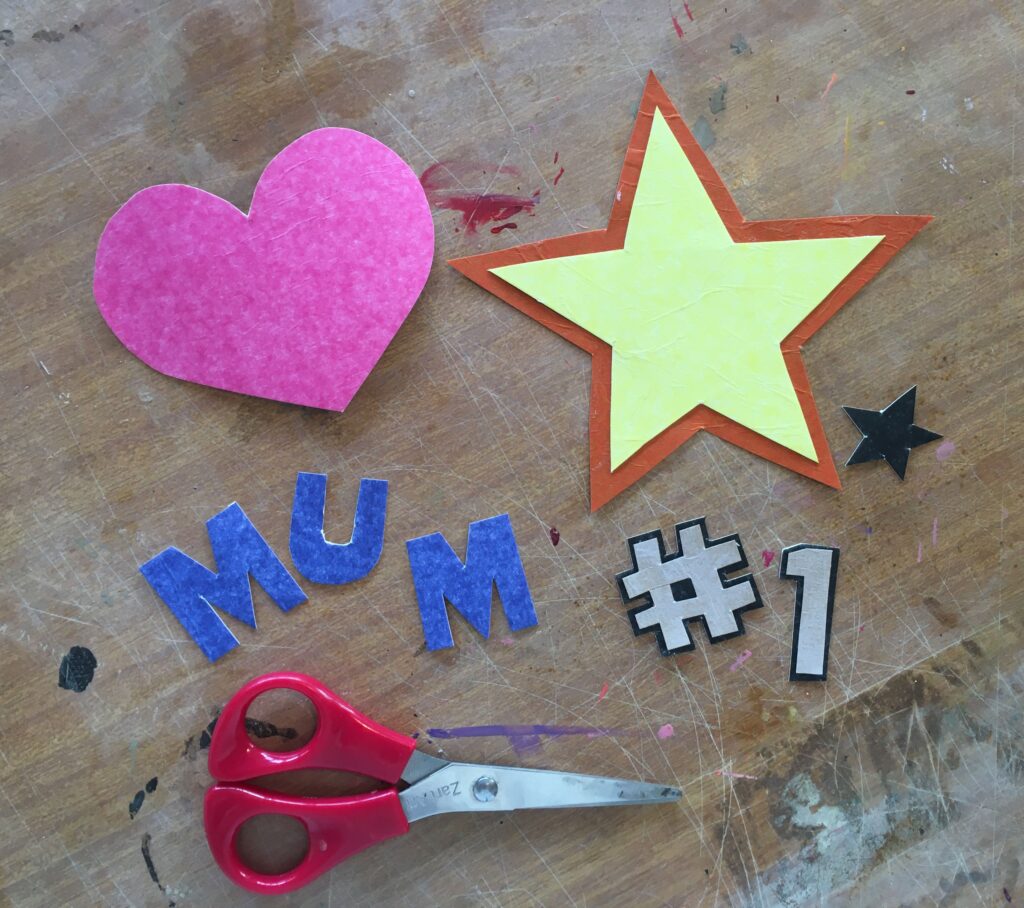
Start building your badge, I recommend beginning with a backing shape, something large and simple, and then building finer details on top. The more layers the better. You can add some other materials too, glitter, sequins, felt tip pen, beads, whatever!

Wait until the front is dry and then let’s turn it into a badge. Get a square of thick paper or thin card. Fold it into an M shape. The safety pin slips into the middle and the tabs get glue down. I recommend PVA for this step.
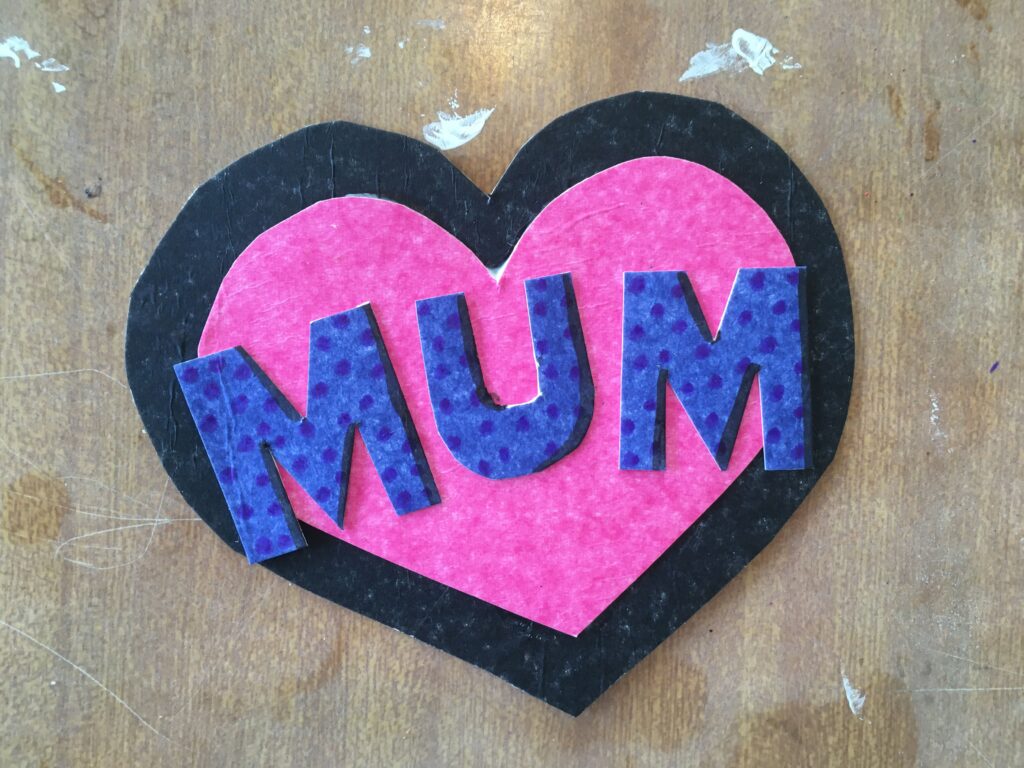
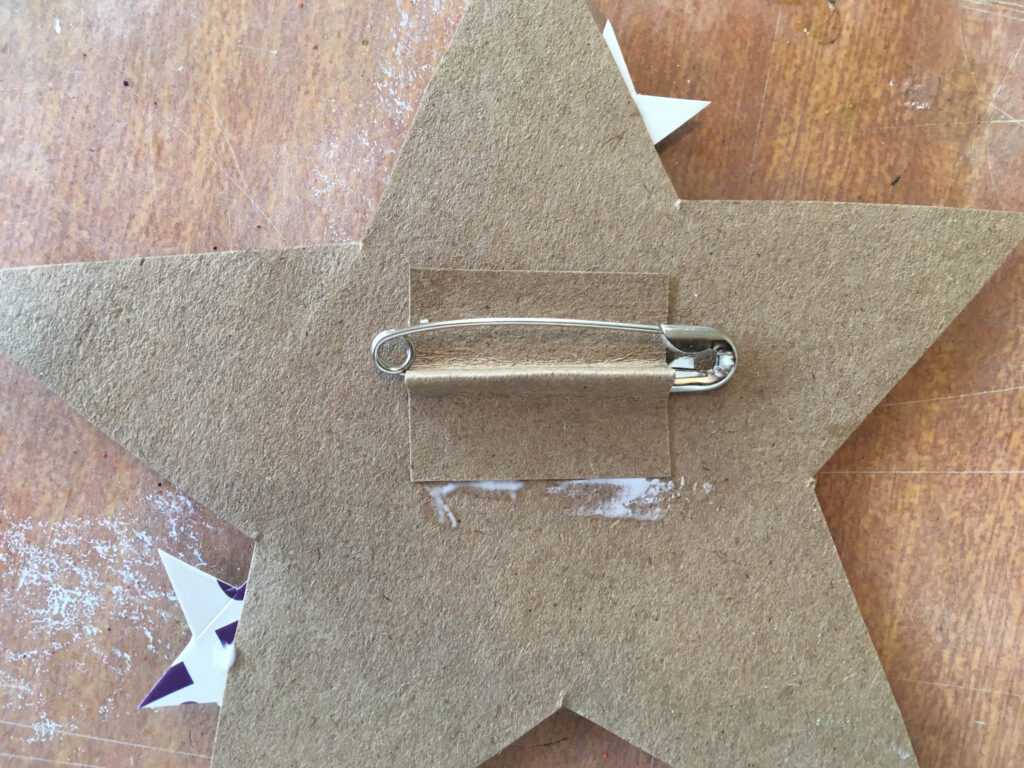
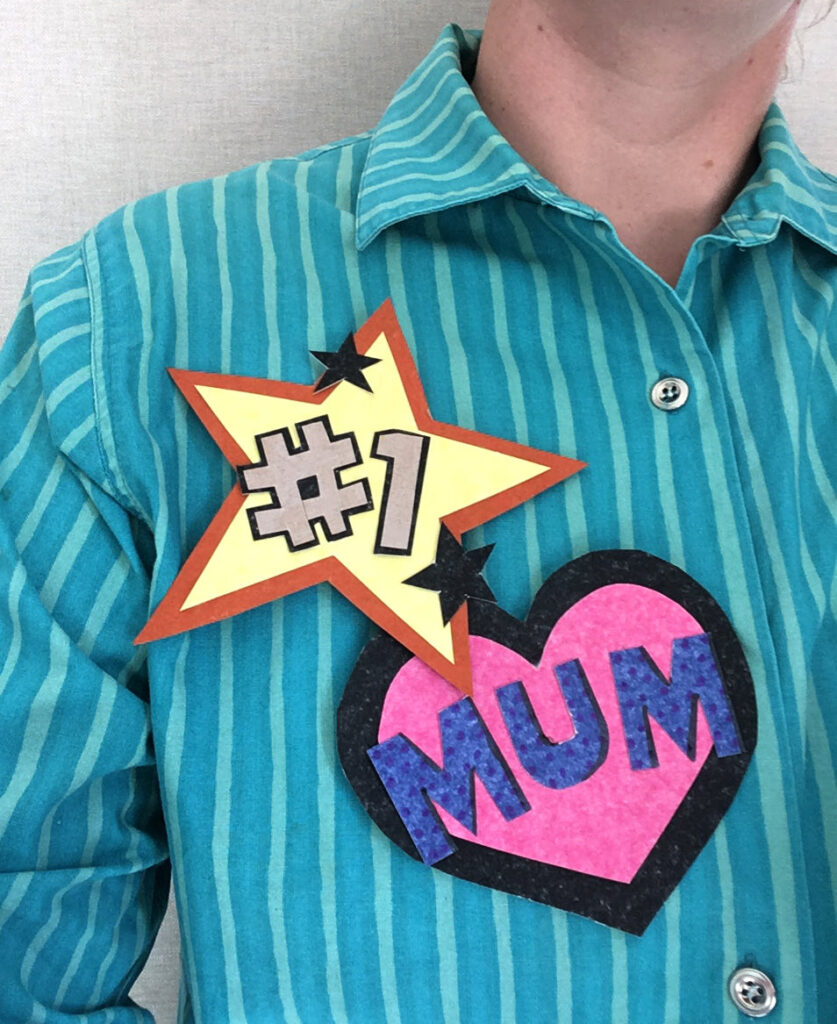
Done! Make, two or more, your Mum can wear them all at one, or one for each day of the week. And remember, this activity will work just as well for Fathers Day.
Looking for other ideas for Mothers Day projects? Check out this post – we have another 3 x cute projects up our sleeve.
We also have a cool DIY Mothers day craft kit perfect for your class – check it out here.
Time to get crafty kids! Lets do it for our gorgeous mums!
Until next week.
Tracy x
Inspire your students to think and learn in new and exciting ways. Book a RAW Art workshop for your class today.
We will be in touch within 48 hours.