
RAW art is a team of art specialists who run art incursions in schools and kindys throughout SEQ and Sydney/ Newcastle. We also have a fabulous range of DIY art kits which we send to schools and kids throughout Australia.
Space Junk
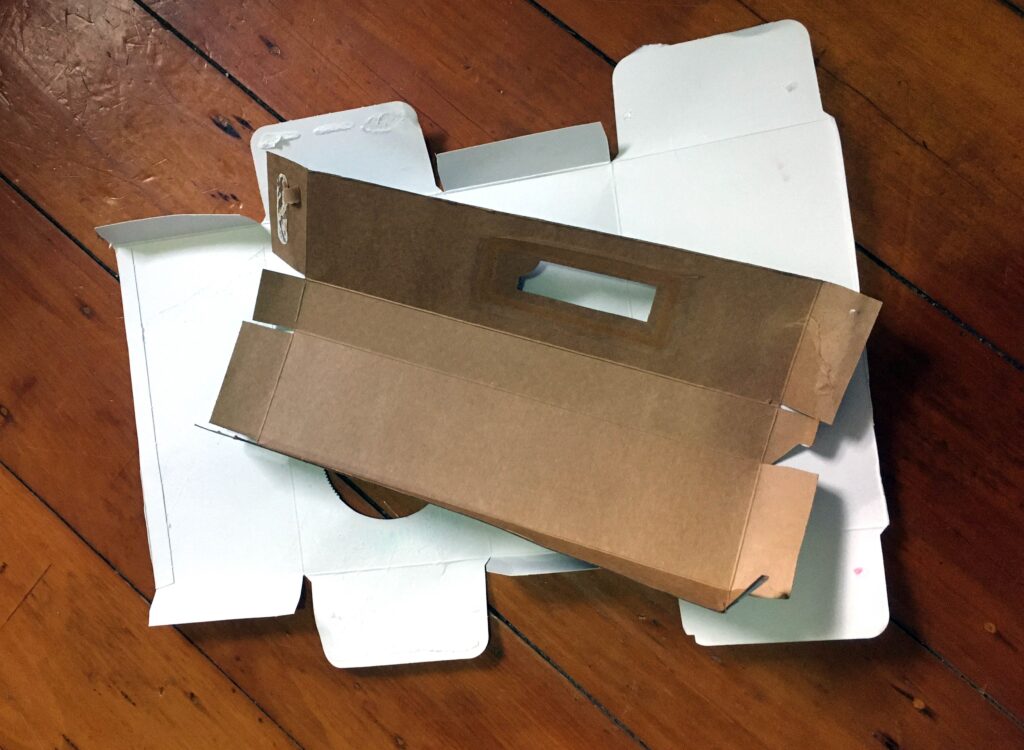
Here is another idea which gets you to dive into your recycling bin for some art materials. I have utilised a tissue box and a pasta box… and also a handful of plastic lids. These are the beginnings of an excellent mobile.
This mobile is inspired by outer space, the spectacular range of colours and textures of the planets and stars. Our mobile is an imaginary solar system full of colourful swirly planets which can hang from the ceiling and move about when the wind comes along.
You will need some recycled cardboard cartons, a handful of plastic lids from the recycling, some string (at least a few metres), a stick/chopstick, glue, scissors, and a hot glue gun (optional).
While this is an activity for all ages, children under 8 might need some assistance, especially if you choose to use the hot glue gun.
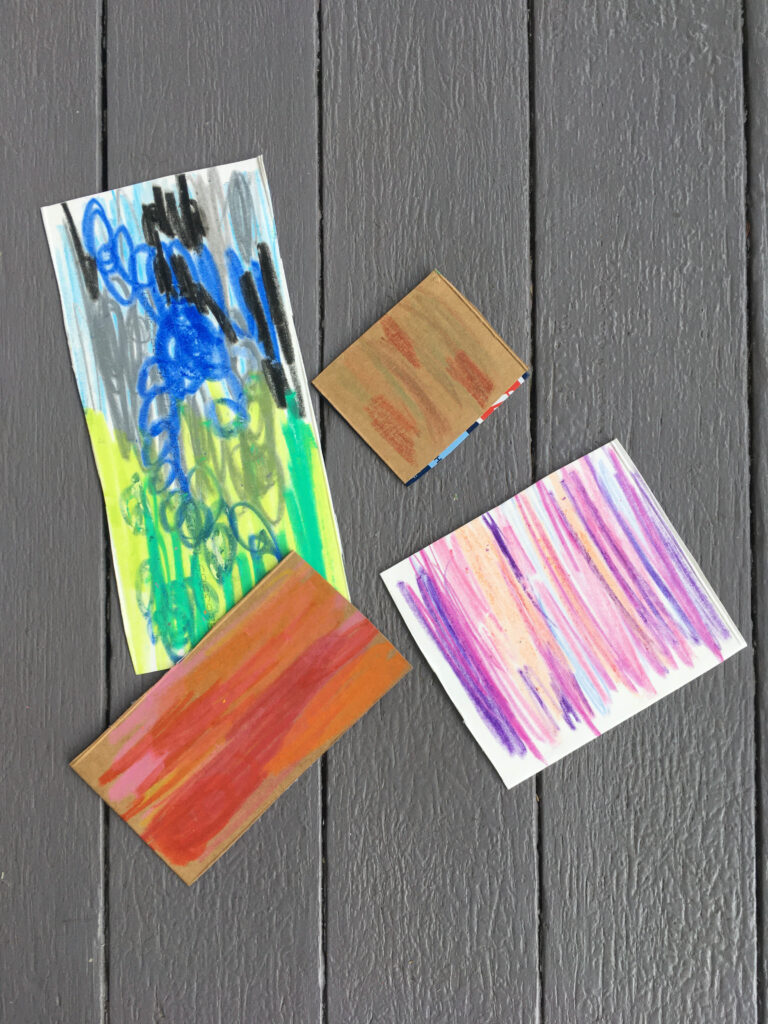
First cut the cardboard cartons along their folds. Glue the pieces with a glue stick back-to-back so that the brown or white cardboard is facing outwards, and you have a stronger card to work with. Once they are dry, using some crayons, colour in both sides of the card, swirls, stripes, and blending looks great. Cut as many circles (planets) out of these as you can, use drinking glasses of different sizes from the kitchen as templates if you want them perfect.

Prepare your string, cut it into various lengths and match them up to the planets (inc bottle lids). I used a hot glue gun to dab a bit of glue on each planet and secure the string to it. Alternatively you could try a holepunch or PVA to secure the string.

Spend a minute arranging your planets along the stick, then tie them on with a double knot. A bit of extra glue on your knot will keep it extra safe. Finally use one long piece of string to create a loop to hang your mobile.
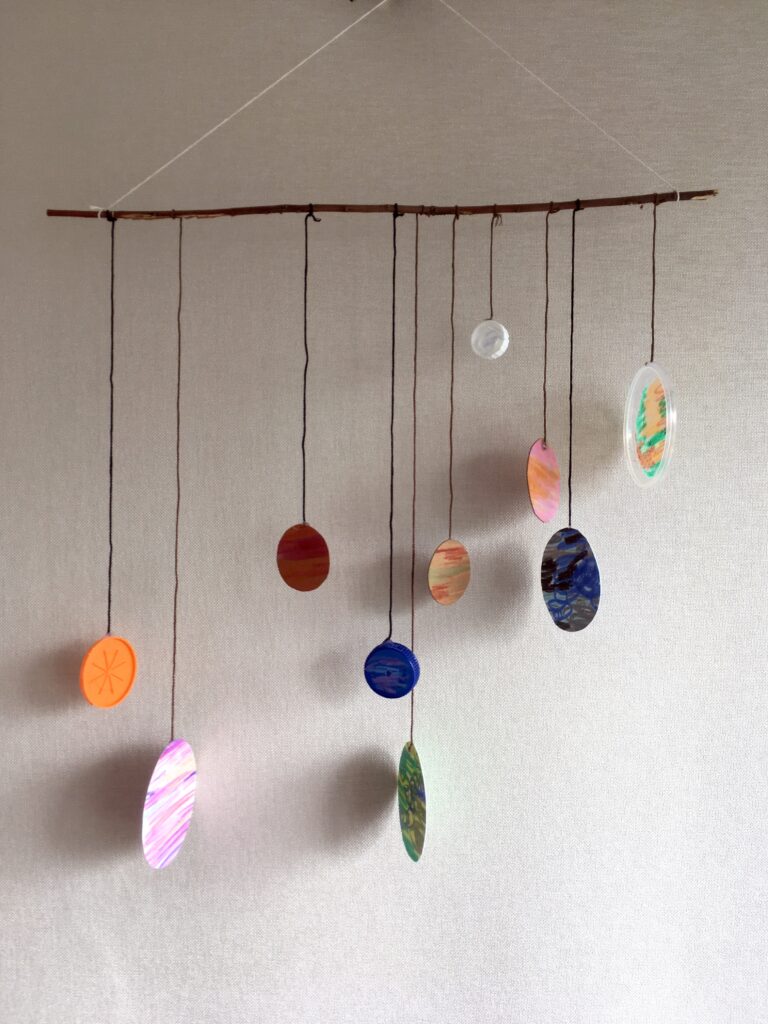
Hang your mobile against the wall on a hook, or from the ceiling for the best kinetic effects. We have lift-off!
I love how this is such a simple, effective project, using bits from around the house! It is not only a fun project, but it looks really beautiful too!
Happy creating!
Tracy x