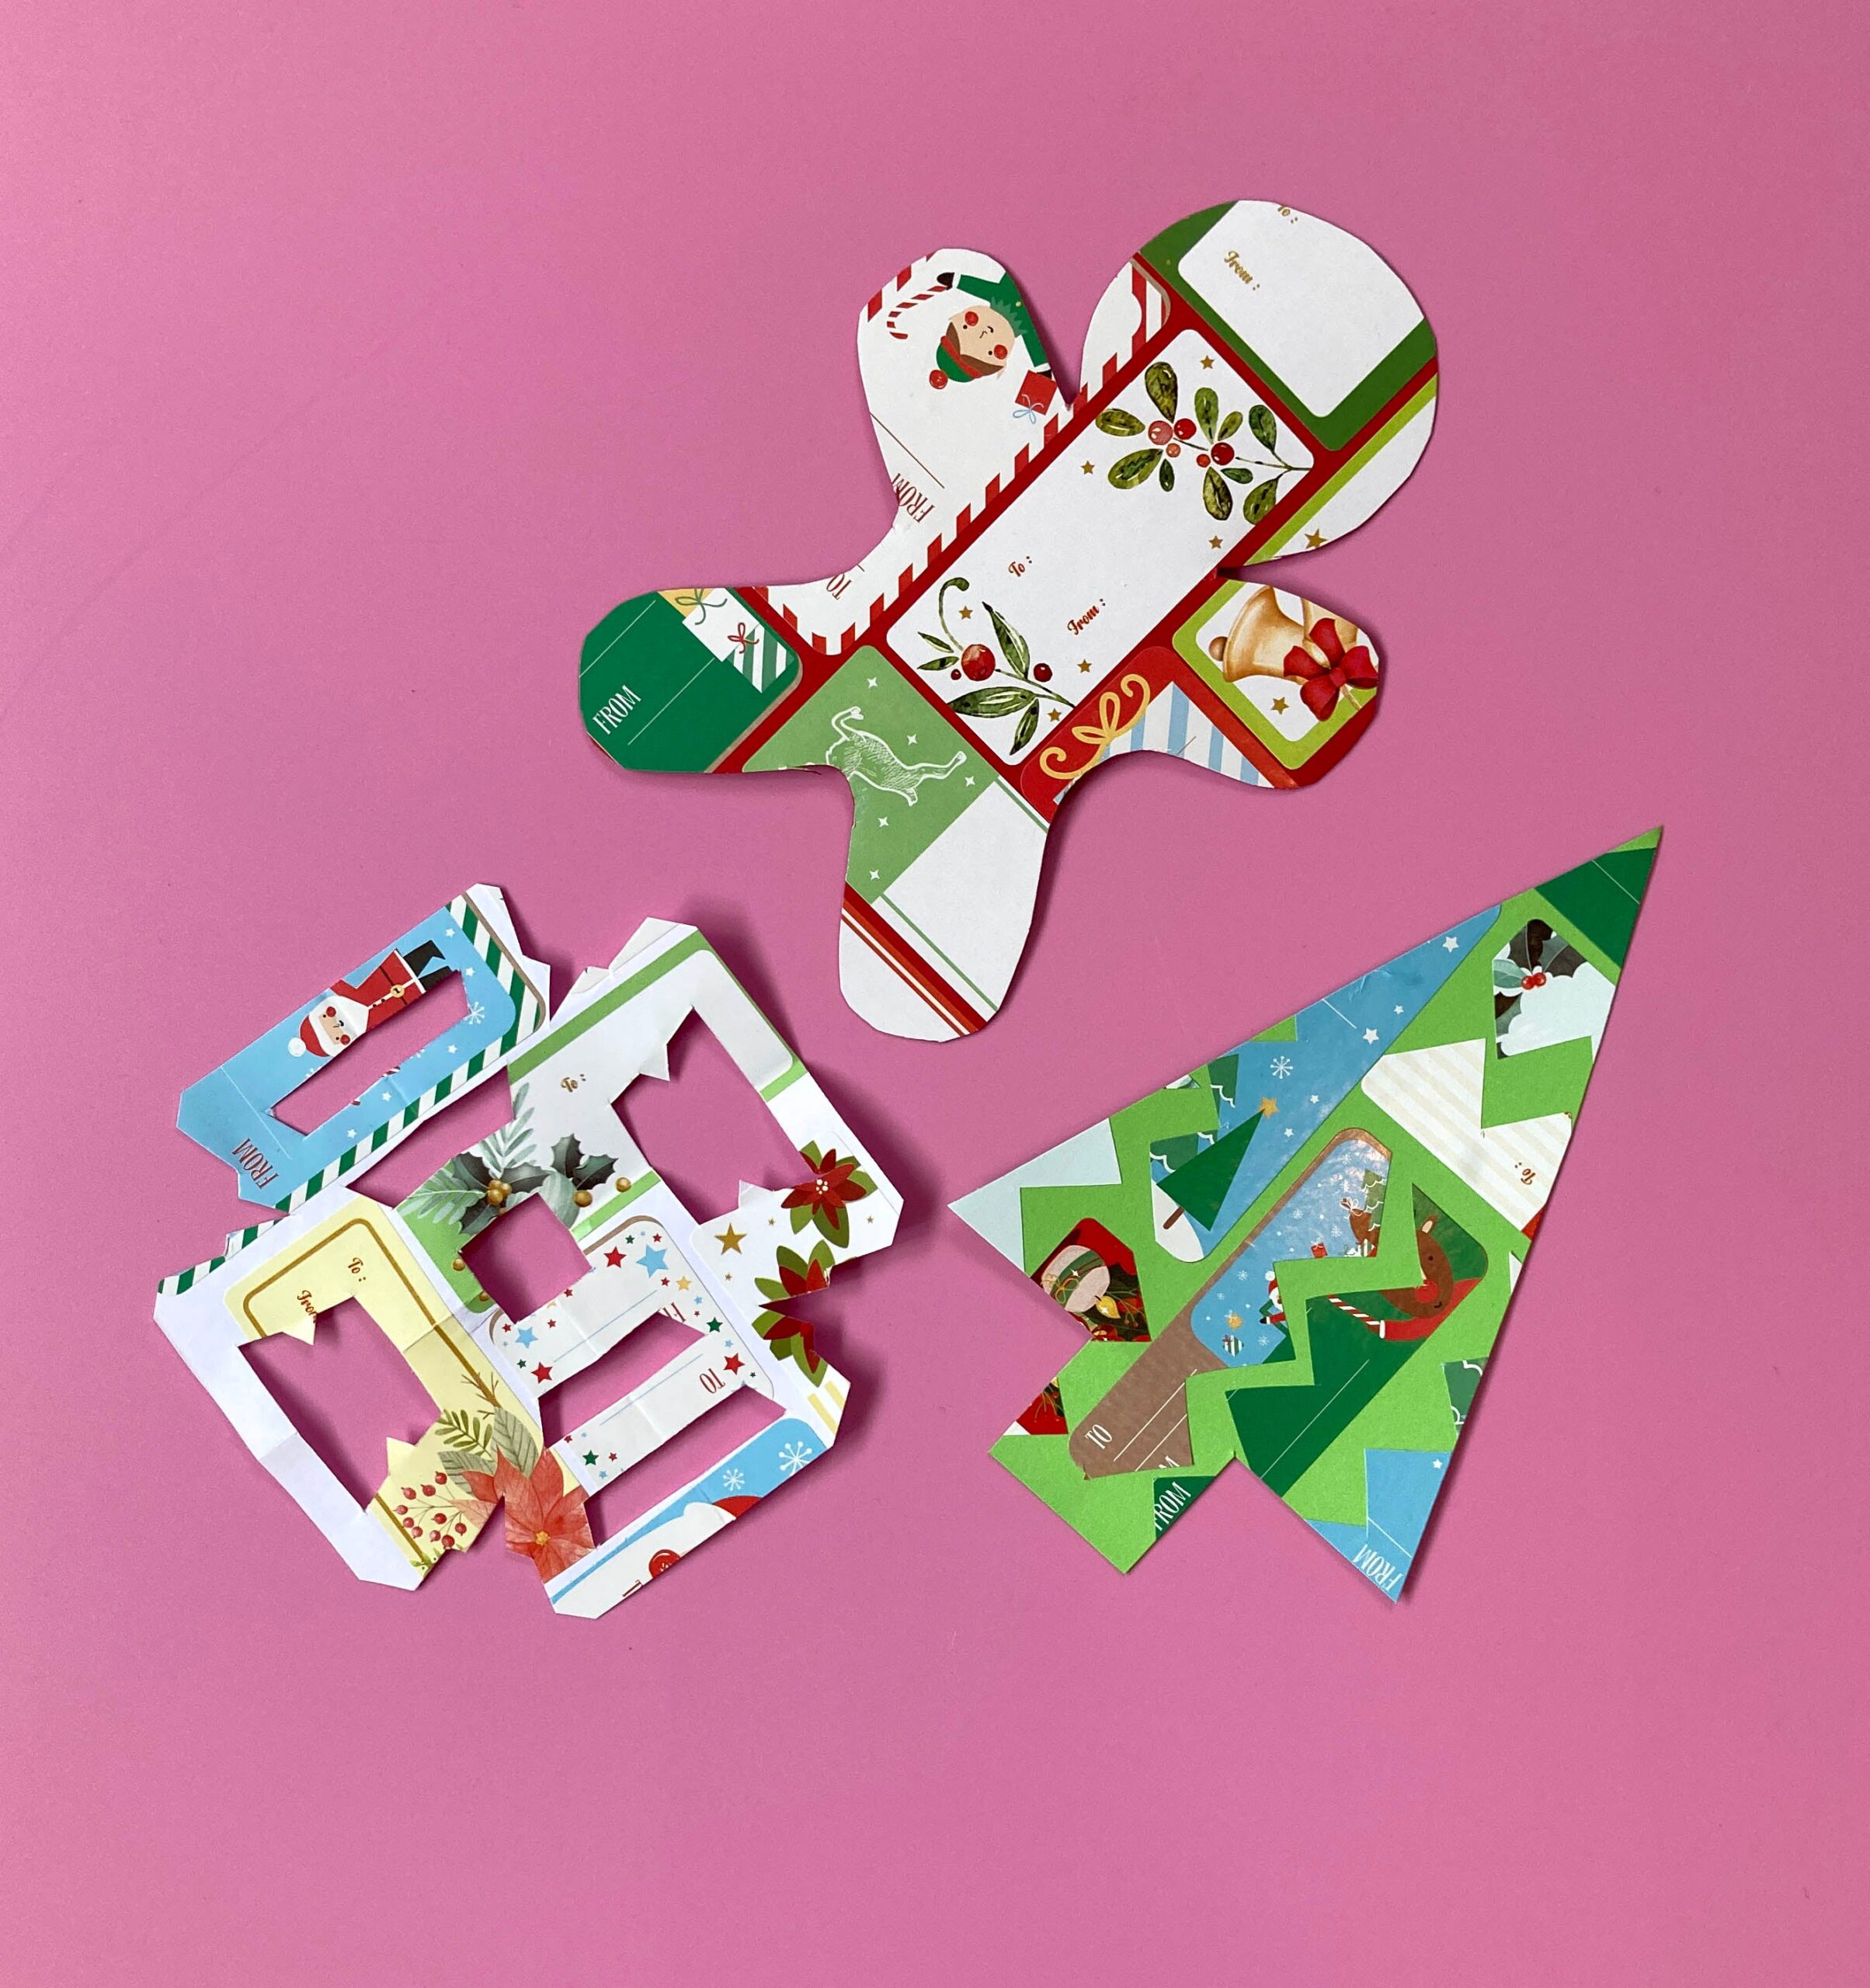
Sticker Christmas cards
Time to make some Christmas cards! I love a handmade Christmas card, mostly because it shows you have spent some time on the gift, and it also offers an opportunity to get crafty with the kids.
I have an idea which is relatively mess-free and can be enjoyed by all ages. Who doesn’t like stickers? Well, I found these sheets of Christmas label stickers for only a few dollars per pack in the stores, and there are heaps in them, you will be able to make 4-6 cards per pack.
You will also need some card folded into A6 size and some assorted coloured card or paper cut to A6, plus scissors, a pencil, and glue.
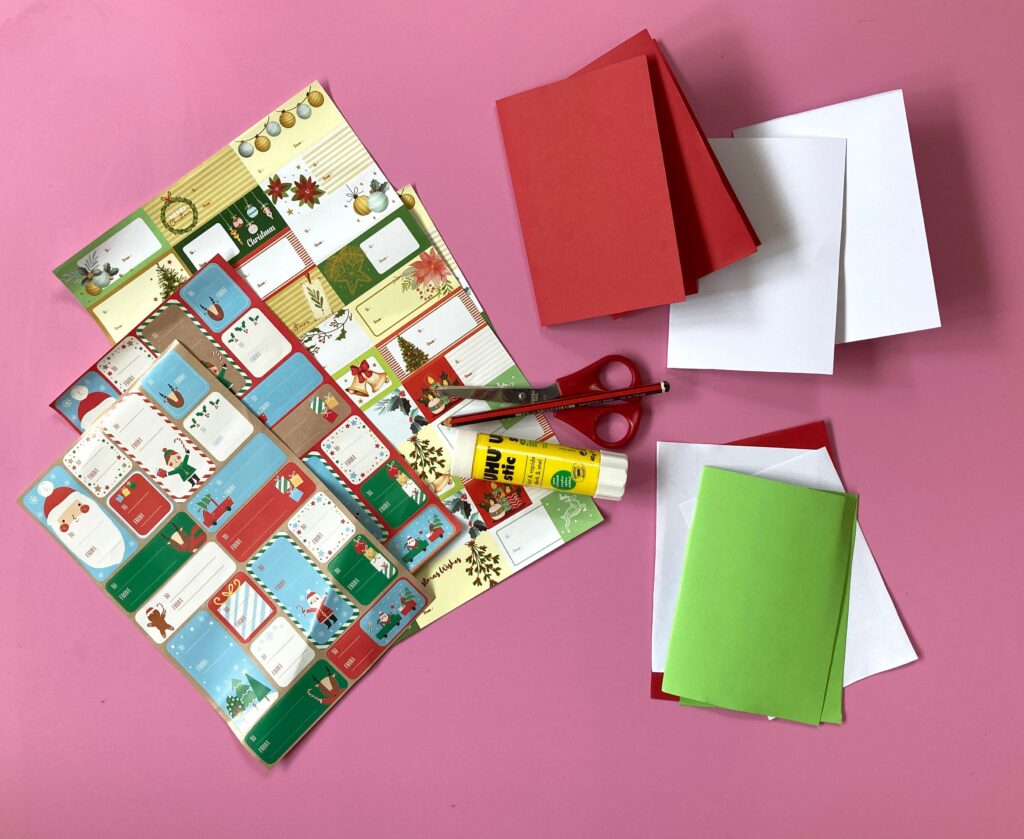
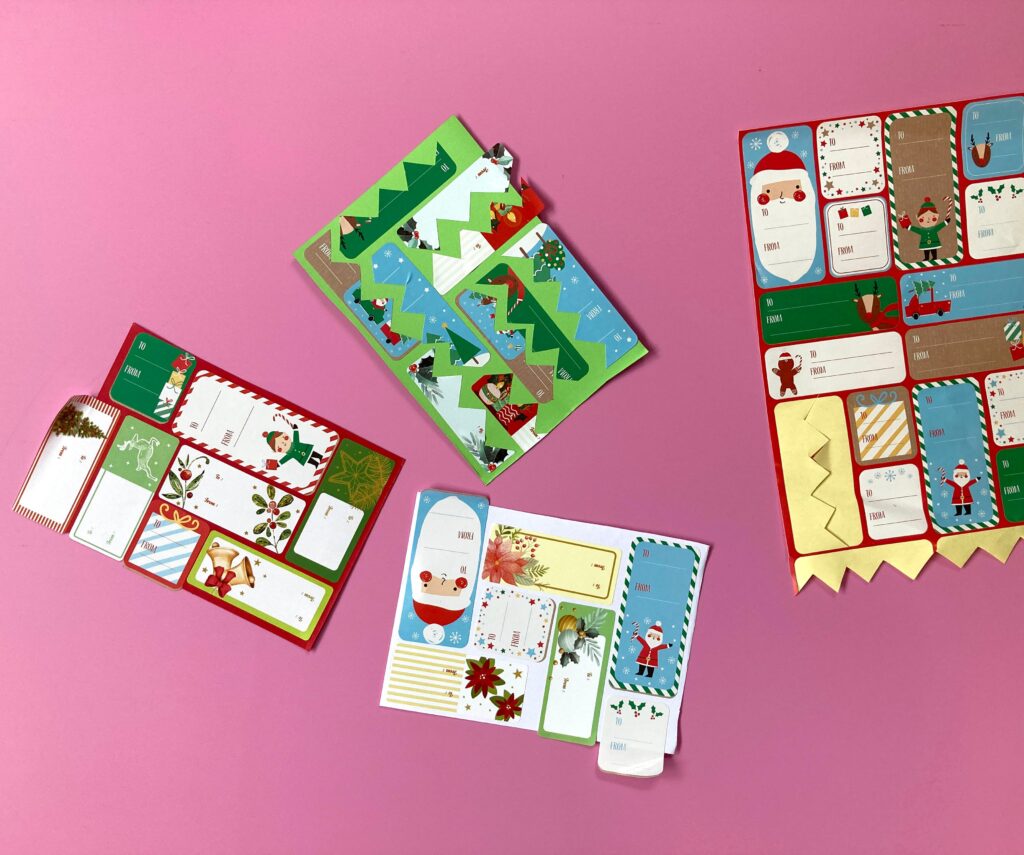
I started by mosaic-ing my stickers over the A5 card (not the folded cards, they are for mounting onto later). I like to leave some gaps between the stickers but there are no rules, apply the stickers in whichever way you want.
To make a prickly Christmas tree effect I cut the stickers zig-zaggy first before applying.
To make a snowflake shape you must use the stickers on paper, not card.
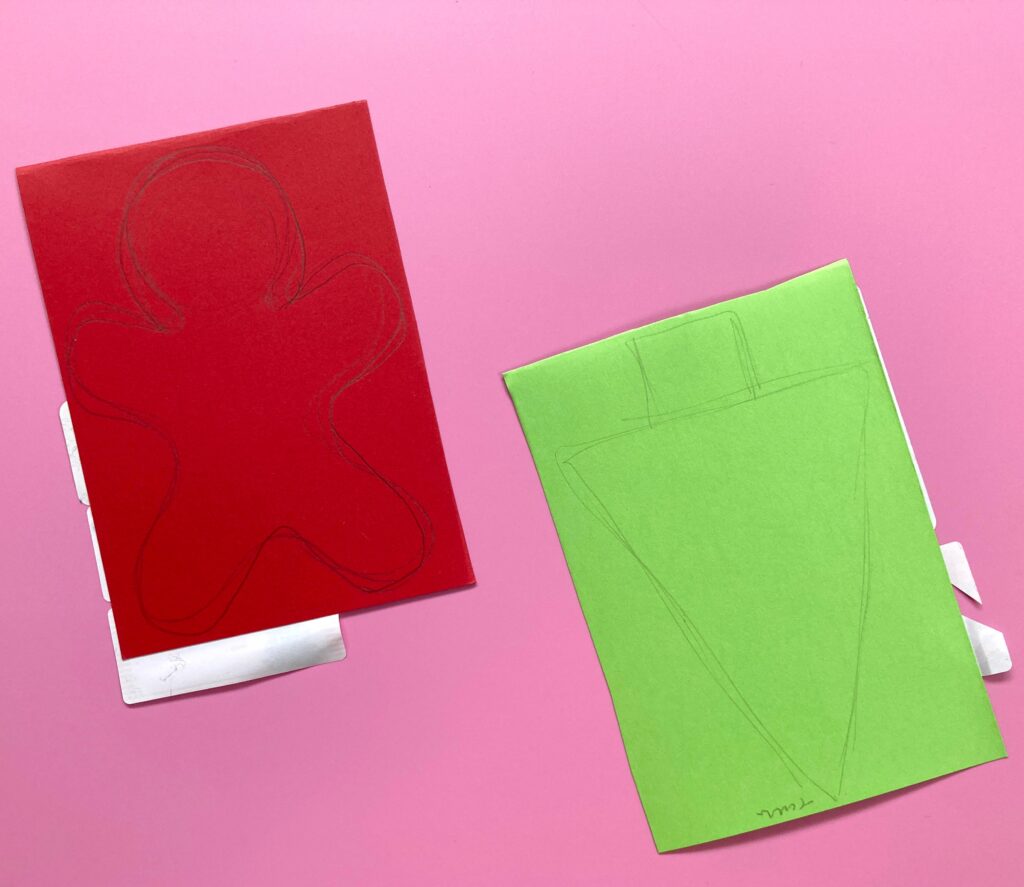
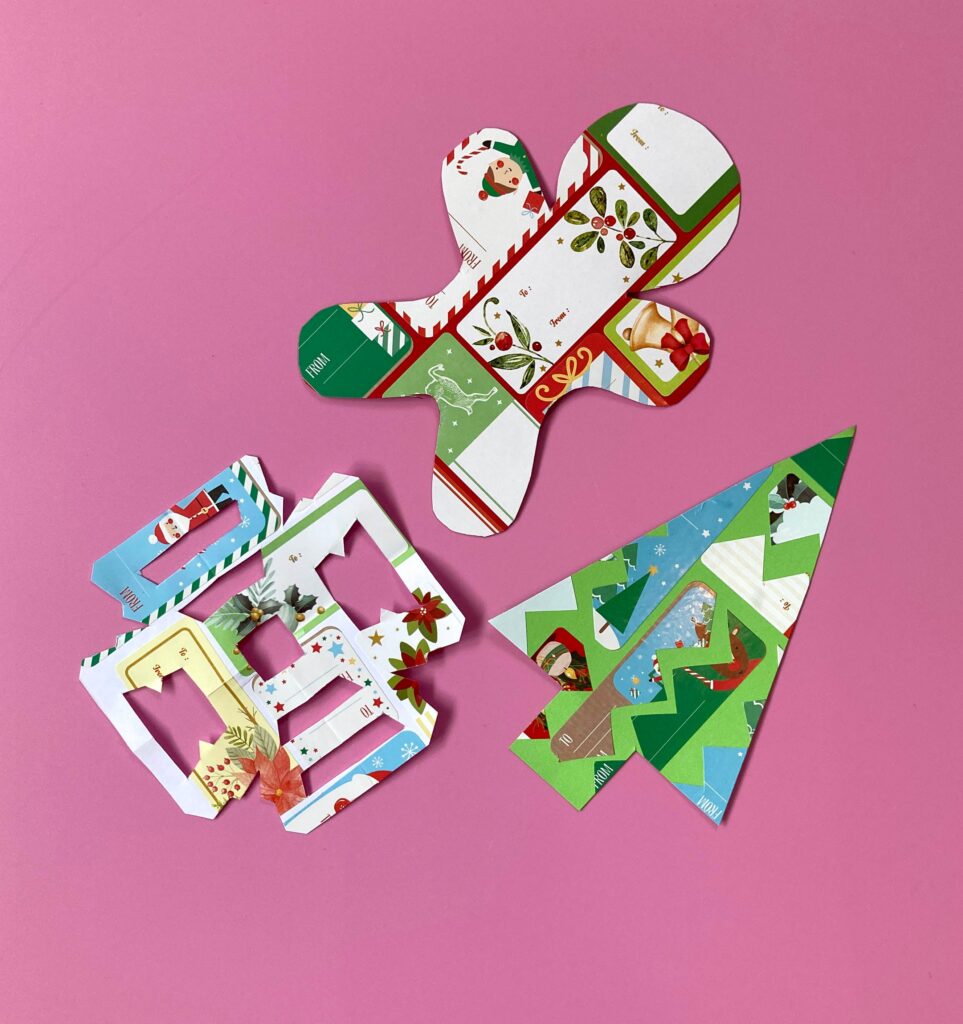
Now flip your stickered paper over and draw your favourite Christmas shapes on the back, the easy shapes for the kids are tree, snowman, star, bauble, candy cane, or gingerbread cookie. Make sure the shapes are large for the best effect. Cut the shapes out.
To make the snowflake, cut a nice big square or circle out of the stickered card, and fold in half and half again. Now cut some chunky shapes out of the edges of your folded shape and open it up to reveal your symmetrical snowflake design.
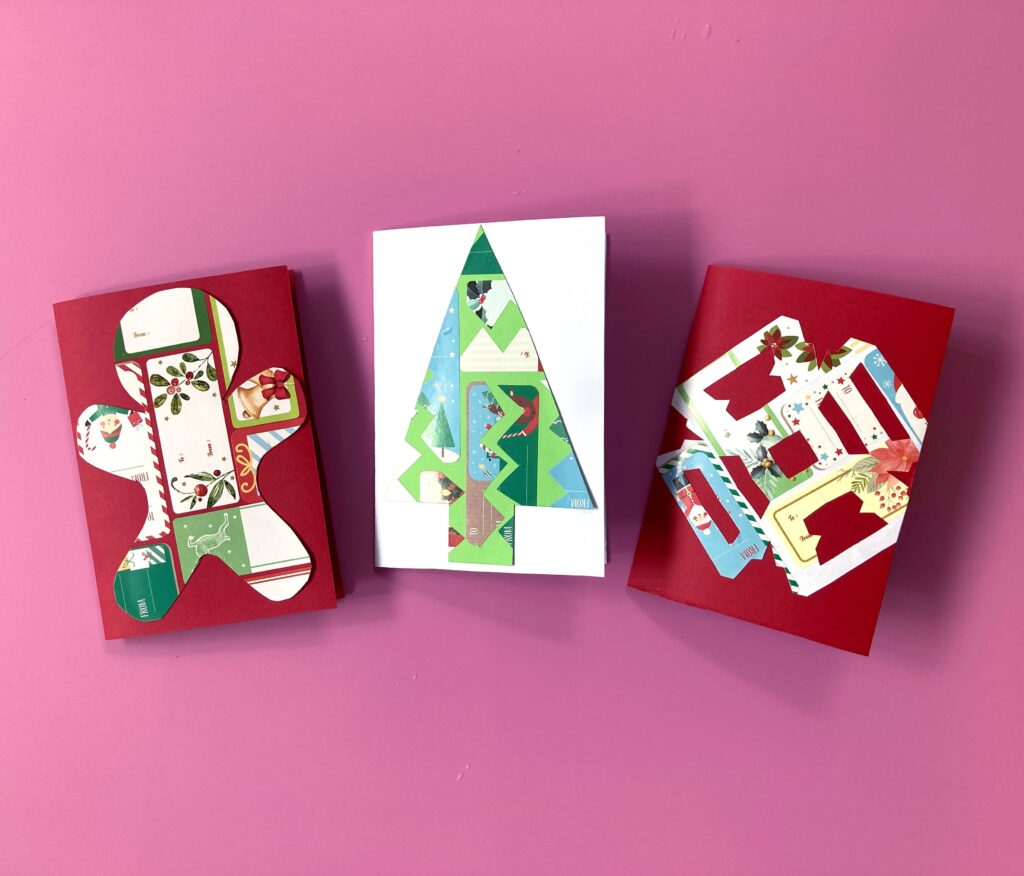
Using some glue stick on the back, mount them onto the front of your folded cards.
You can make a whole bunch of these cards in just an hour, with almost no drying time needed. Plus, it is a great way for the kids to have some fun with stickers, and practice their drawing and cutting.
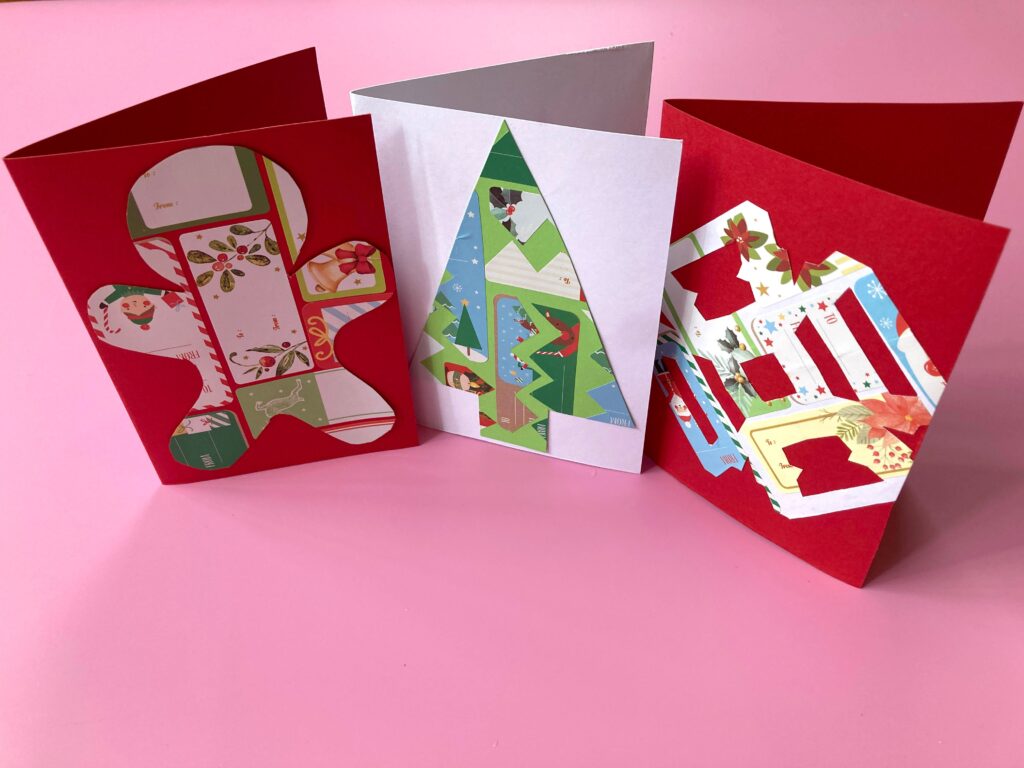
Christmas cards sorted!
How do you like to make your Chrissie cards?? Let us know in the comments below.
Until next time!
Tracy x
Inspire your students to think and learn in new and exciting ways. Book a RAW Art workshop for your class today.
We will be in touch within 48 hours.