
Easter paper projects
Is it too early to start planning for some Easter crafting??? Nahhhhh.
Are you looking for some fresh inspiration for easter projects? I have two ideas for you which are simple and can each be completed in about an hour. My idea for this was sparked in the recent flooding which took over the bottom floor of our house. The water enveloped plenty of art materials including stacks of coloured paper and card. A few days later as I was peeling the paper apart, I was struck by the lovely tie-dye effect the wet paper created.
Maybe you have a bunch of damaged paper or card, or you can try and recreate the waterlogged paper like I did below. But if you don’t want to try that, then all you need to do is get out the watercolour paints and wash/splatter some coloured paper and you will be all set.

To make the coloured tye-dye paper:
Stack various coloured A4 paper together, making sure you have some white in there too. Lay it in a tray or dish and fill with water for a few hours or overnight, then drain and partially separate allowing to dry. Not all pieces will get the effect, but hopefully some are really interesting!
Easter egg collage
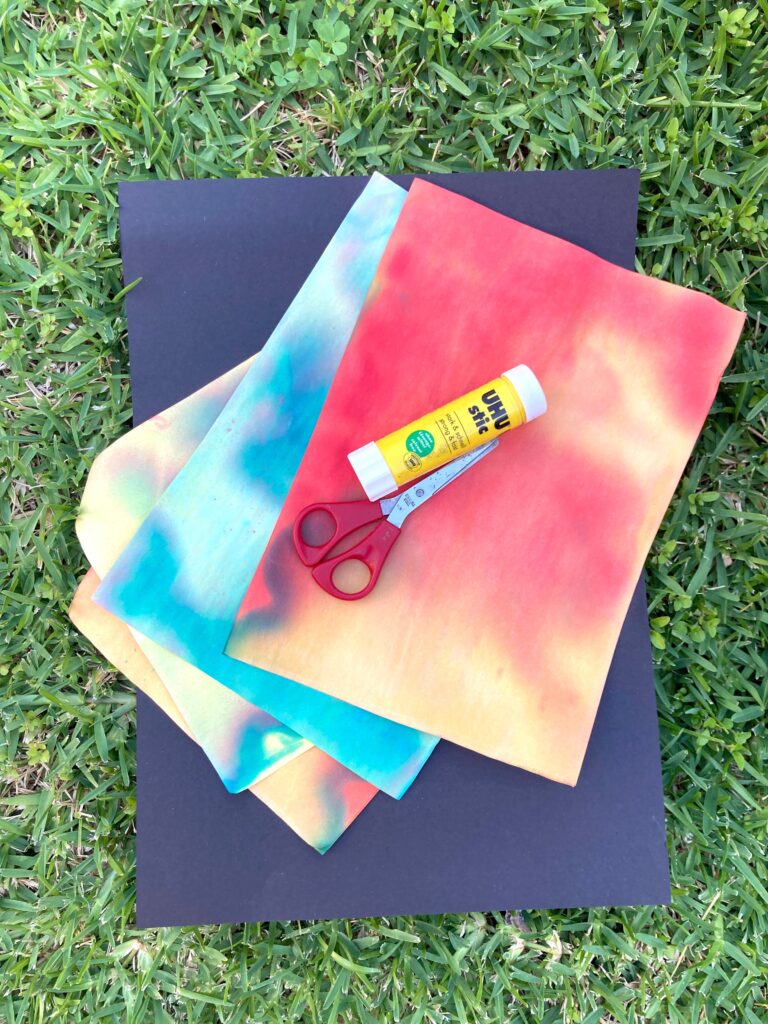
Start with a piece of A4 or A3 black card as a background. From your patterned paper cut out between 6-10 easter eggs. I used a simple card template to trace around so I got even shaped eggs, this can also help the little ones. To achieve the zig-zag or wavy cut eggs simply layer two eggs on top of one another, and while pinching them tightly cut through the middle. When you separate the layers the different colours should line up nicely. Arrange them on your card and glue down well. These would also make great easter cards or decorations for a bonnet.
Easter bunny puppet


Start with 3 pieces of white or coloured card, around A5 size. Glue down your patterned paper onto this card so you have sturdy but patterned pieces for your puppet. While this is drying, on the back (plain card side) draw on one piece an oval body, on another piece a head with long bunny ears, and on the final piece two curvy bunny arms (and legs too if you like). Cut these out neatly, and while you are at it cut a few eyes and a nose for you bunny. Glue down the eyes and nose, and grab three push pins to join the arms and head/body together. Young kids might need some help piercing the card at this stage
Its been fun turning something that was damaged and destined for the trash, into something arty, colourful and cheery. Something we all need a little of at the moment!
What are some of your go-to easter projects?? We would love to see what you have created!
Another couple of fun Easter projects you might like to try are our………
Easter Cutesy Chicks – a super fun printing project
Beaut Bunny Baskets – turn an egg carton into a festive basket
Happy crafting – nahhhh whats up doc?
Tracy x